
Contenu
- First Steps - Both Bumpers
- Step 1
- Step 2
- Front Bumper
- Step 1
- Step 2
- Step 3
- Step 4
- Step 5
- Rear Bumper
- Step 1
- Step 2
- Step 3
- Step 4
- Step 5
- Items you will need
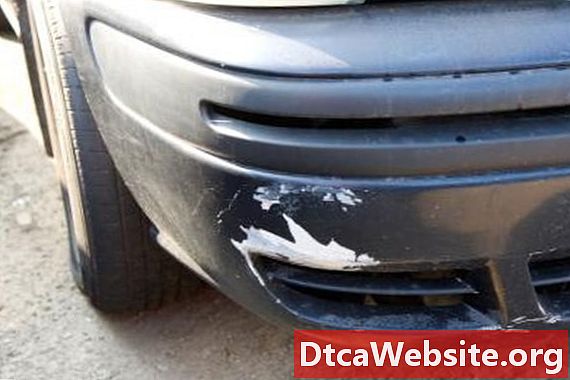
The bumper covers on the Ford Taurus are primarily made of fiberglass molding. If either the front or the rear bumper is damaged in a collision, you need to replace it to help protect the car. Some people may wish to replace the stock bumpers with customized body kit bumpers. Removing and installing a bumper is usually a two-person job.
First Steps - Both Bumpers
Step 1
Disconnect the cars negative battery cable.
Step 2
Raise the front or the rear end of the car--whichever end has the bumper you are removing--and support it on jack stands. Raising the entire car woks best as it will give you the most clearance. Remove both wheels for the appropriate end.
Disconnect the electrical connectors for the lights on the corresponding end of the car. These connectors should be located behind the bumper.
Front Bumper
Step 1
Open the hood and remove the headlights by removing each lamps bolt near the grille opening and prying up the retaining rods at the outboard end. Remove the screws within the headlight opening that connect the bumper to the fender.
Step 2
Remove the radiator air deflector underneath the car. If the Taurus has fog lights installed, disconnect their electrical connectors.
Step 3
Remove both of the inner fender liners by removing the screw at the radiator air deflector, the screw at the top center of the fender liner, the four plastic push pins (use a small screwdriver and needle-nose pliers), the screws attaching it to the fender and the rocker panel molding (remove the moldings push pins).
Step 4
Unscrew the nuts attaching the bumper cover to the fender with a wrench, followed by the five bolts securing it to the radiator support and the push pins securing the grille and the bumper cover to the grille opening. Slide the bumper cover forward--youll need another persons help--to remove it from the car.
Step 5
Position the bumper cover on the car with your assistants help. Attach all the fasteners in the reverse order of removal.
Re-connect the lights and all other parts in the reverse order of removal.
Rear Bumper
Step 1
Detach the fuel filler overflow hose from the bumper cover, which is located within the right side wheel well opening; this will likely require pliers to loosen the hose clamp. Remove the screws and nut connecting the bumper cover to the splash shield and quarter panel, then remove the similar screws and nut in the left-side wheel well opening.
Step 2
Pry up the push pins along the bumper covers lower edge using a small screwdriver; there are 10 of them. Remove the pins with needle-nose pliers.
Step 3
Open the trunk and remove the scuff plate and the trim panels on the right and left side.
Step 4
Disconnect the nuts attaching the bumper cover to the car body; there are six to eight of them depending on the year of the car. Slide the bumper cover away from the car with an assistants help.
Step 5
Position the bumper on the car and re-connect the mounting nuts and the push pins.
Re-connect all components in the reverse order of removal, including the electrical connectors for the lights.
Items you will need
- Jack
- Jack stands
- Lug wrench
- Wrench
- Screwdriver
- Needle-nose pliers
- Bumper cover(s)
- Assistant


