Contenu

Manufactured from different materials, plastic radiators serve the same function as traditional brass radiators. While plastic radiators are lighter and more efficient than traditional brass radiators, they also present unique challenges when it comes to being in disrepair. For example, plastic radiators are more prone to punctures from road debris and are more likely to have pieces break off, such as a hose connection. Hose connections on plastic radiators can crack and break, causing coolant to leak, which can expose the engine to potential overheating unless repaired swiftly. Fortunately, another upside to plastic radiators is that they are relatively easier to fix than traditional brass radiators.
Step 1
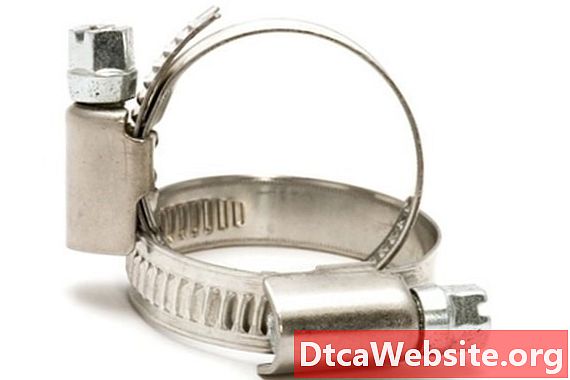
Disconnect the hoses from the radiator after allowing the vehicle to cool down. Unscrew the metal rings connecting the hoses to the radiator and brush any debris from the openings. Check each hose for rips or tears, particularly the hose connected to the broken part on the radiator.
Step 2
After allowing the coolant to flow from the radiator, remove the radiator from the vehicle. The removal of the hoses should allow the coolant to flow from the radiator, but you may still need to open the radiator plug before removing the radiator from the vehicle. Clean the entire surface of the radiator with a water hose, checking for other leaks while the radiator is out of the vehicle.
Step 3
Remove any debris from the area of the broken hose connector. Sand the entire area, paying particular attention to the broken surfaces.
Step 4
Heat the two broken surfaces of the hose connector with the air-free plastic welder. Heat the welding rod with the welder. Once the rod has begun to melt, place it on one side of the hose connector. Press the two broken surfaces together and hold for several minutes while the welding rod cools. Allow the plastic welding to set before reinstalling the radiator. Alternatively, spread general purpose epoxy on both sides of the hose connector, press the pieces together and hold for several minutes. Allow the epoxy to set before reinstalling the radiator.
Reinstall the radiator into the vehicle, replacing the hoses and making certain they form a tight seal. Pour coolant into the radiator to fill the system. Run the engine until warm to check the integrity of the repair job.
Items you will need
- Radiator epoxy for plastic radiators
- Sandpaper
- Screwdriver
- Plastic welder
- Plastic welding rod
- Coolant


