
Contenu
Physically removing the alternator from a Chrysler Sebring is somewhat challenging, due to its location in the engine. Because the alternator drive belt snakes around so many other engine components, its best to take a good look under the hood to familiarize yourself with the other engine parts involved with removing the alternator. Dimming headlights while driving, or a new battery that keeps dying, are indicators the alternator needs replacing. Another example is that the battery warning light flickering during low rpm or is constantly lit. (see Reference 1)
Step 1
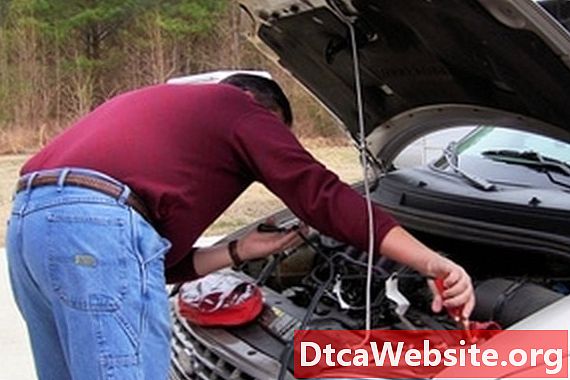
Open the hood, and remove the negative battery cable with a socket wrench. Refer to the owners manual for the exact location of the alternator, as this can vary by model year. Remove the alternator belt cover, and disconnect the harness wiring from the alternator by unplugging the connector. The alternator is a round assembly with the alternator belt on the side. (see Reference 2)
Step 2
Remove the top-mounted adjustment bolt that attaches the alternator to the engine block with a socket wrench. The adjustment bolt is the first of three bolts that must be taken out to remove the alternator. The first bolt is the easiest to reach. Its usually near the back of the engine block. (see Reference 2)
Step 3
Slide beneath the undercarriage on a creeper, and loosen the bottom adjustment bolt. This should loosen the alternator drive belt enough to slip off the pulleys, but do not remove the alternator belt all the way. Remove the bottom mounting bolt and the bottom adjustment bolt. Reaching these two bolts is easier from underneath the vehicle. Removing these bolts enable the alternator to be detached from the engine. (see Reference 2)
Step 4
Remove the four bolts mounting the air conditioning compressor to the engine, and move it out of the way while still under the vehicle. Do not remove any of the air conditioning conduit lines. Moving the compressor is necessary to create enough space to slide the alternator out from the top of the vehicle. (see Reference 2) Slide out on the creeper from underneath the vehicle, and return to the top of the vehicle.
Remove the alternator by pulling it forward, toward the front of the vehicle, and pull up on it. You may have to work it past some of the other engine components. Replace it with a new alternator.
Tip
- Using a reconditioned alternator to replace the failed unit will save you money. Reconditioned parts are typically as reliable as a new part.
Warning
- Always replace any hoses or belts that come loose when attempting to remove the alternator because once they come loose, they will likely be damaged or stretched.
Items you will need
- Socket wrench set
- Undercarriage creeper


