
Contenu
Rubber bumpers tend to discolor over time and collect signs of damage, such as scratches, nicks and cracks. The good news for car owners is that rubber bumper damage can be easily and inexpensively repaired. All that is needed to repair some minor damaged areas is a heat gun, which can be found at most hardware stores. Other areas need to be treated with a flexible plastic filler and then refinished.
Step 1
Scrub the bumper with dish soap and water using a dish scrubbing pad. Scrub again with a plastic/rubber cleaner. Remove any bumper stickers by soaking the sticker with vegetable oil. Unscrew any reflectors attached to the bumper.
Step 2
Sand the entire rubber bumper with 80-grit sandpaper to remove all of the paint. Wash and dry again with soap and water to remove the paint dust.
Step 3
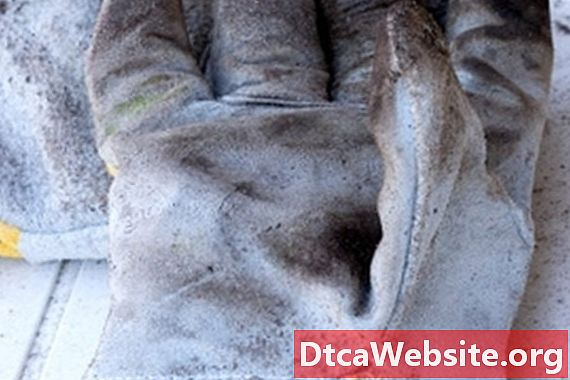
Wave a heat gun across the back and front of the bumper wherever there is a dent or blemish. Once the rubber gets hot, it becomes malleable. Press the hot rubber back into place while wearing leather gloves for protection. If the heat gun does not repair the damage, move on to step 4.
Step 4
Fill damaged areas with a flexible plastic filler, available at most auto parts stores. Overfill the damaged area and then smooth, using a piece of cardstock. Allow the filler to dry for a few hours or until smooth to the touch without being sticky. Sand with 180-grit sandpaper to remove any lumps that do not match the contour of the bumper. Repeat if the blemish is still visible or mistakes need to be corrected.
Step 5
Wet sand the entire bumper with 220-grit sandpaper that is meant for wet applications. Rinse all of the debris off and then dry with lint-free rags.
Apply two coats of flexible bumper coat paint. Let dry between each application. Wet sand with 320-grit wet/dry sandpaper, rinsing the bumper well and wiping again. Apply two more coats of the flexible bumper coat paint, allowing time for the paint to dry between applications. Wet sand with 400-grit wet/dry sandpaper and rinse thoroughly. Dry with lint-free rags. Spray on one more coat of paint and let dry for 12 hours.
Items you will need
- Dish soap
- Dish scrubbing pad
- Plastic/rubber cleaner
- Vegetable oil
- Screwdriver
- 80-, 180-grit sandpaper
- Heat gun
- Leather gloves
- Flexible plastic filler
- Cardstock
- 220-, 320-, 400-grit wet/dry sandpaper
- Lint-free rags
- Semi-gloss flexible bumper coat paint


