Contenu

The safest and simplest way to install a home hookup for a recreational vehicle, or RV, is to use a supply pedestal manufactured for the purpose. Supply pedestals are similar to the hookups at most campsites, typically made with one built-in 50-amp outlet, one 30-amp outlet and one or two 20-amp outlets. Appropriately sized circuit breakers are preinstalled, and some feature a usage meter and a switched light for using the pedestal after dark. They are weatherproof and entirely self-contained, set up so that one 50-amp connection to the pedestal supplies all the outlets with their correct voltages.
Step 1
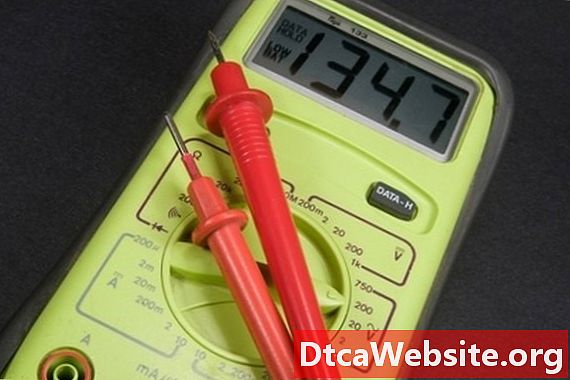
Locate the breaker box to the home. Open the exterior cover and switch the main breaker to “Off.” The main breaker is the uppermost, largest breaker, usually marked as 100 or 200 amps. Remove the two screws at the bottom of the dead-front panel and lift it away, then test that all power is off using your voltage meter to bridge from the live side to the neutral side.
Step 2
Install a 50-amp double-hot-pole circuit breaker in a vacant slot. Using Type UF-rated, four-conductor six-gauge wire, connect the two 120-volt hot wires -- one black and one red -- to the fused screws of the breaker. It does not matter which colored wire is connected to which terminal screw. Connect the green wire to the ground bar and the white wire to the neutral bus.
Step 3
Run the four-conductor wire to the location of the home RV hookup, using plastic zip ties or cable clips to position it in such a way that it is neither vulnerable to accidental damage nor a trip hazard.
Step 4
Unscrew the case front of the new home hookup pedestal and lift it away. Follow the pedestal manufacturer’s instructions to correctly connect the new run of wire from the home’s breaker box. Typically there will be clearly marked terminals toward the bottom of the pedestal, one each for the black and red hot wires (still interchangeable), one for the neutral wire (usually white) and one for the ground wire (typically green).
Replace the pedestal case front and the breaker box dead-front panel, then switch the main breaker to “On.” Use a voltage meter set at 240 volts to test the function of each outlet on the RV home hookup pedestal.
Warning
- Even after throwing the 100- or 200-amp main switch to “Off,” the thick wires at the top of the breaker box carry unfused current. Touching them could be lethal.
Items you will need
- Electrical toolkit
- Voltage meter
- 50-amp fuse
- Type UF-rated, four-conductor six-gauge wire
- RV pedestal
- Plastic zip ties
- Cable clips (optional)


