
Contenu
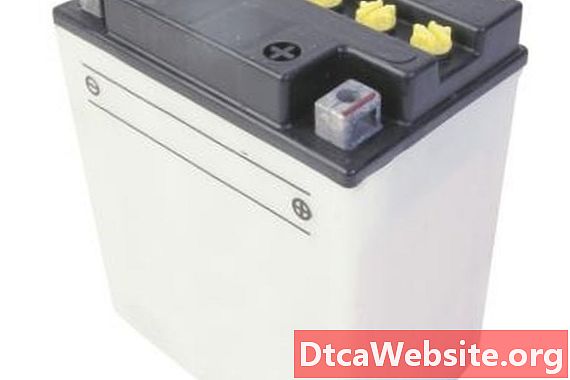
Its likely that a 12 volt battery thats boiled dry is a flooded-cell, lead-acid battery thats fitted in vehicles. It contains six individual cells that each produce two volts and the cells contain lead-plates completely covered in electrolyte fluid -- if the battery is in good condition. A battery thats boiled dry, due to being exposed to excessive heat, wont contain any fluid and sulfation may have formed on the lead plates. It may be possible to repair the battery, depending on the level of sulfation thats formed.
Step 1
Remove the six plastic cell caps from the top of the battery. Use a screwdriver, or twist them off using your fingers.
Step 2
Check the plates for sulfation. Look inside each individual cell. If the plates are completely covered in sulfur deposits, so much that you cant see the plates, then theres little you can do and a replacement battery needs to be purchased. However, if theres only partial sulfur deposits and smallish crystals and parts of the plates are visible, then its certainly worth attempting a repair.
Step 3
Pour distilled water into each cell carefully. Fill the cells up to the maximum marker thats on the internal wall of each cell. Dont overfill. Leave the battery for five minutes and then check the fluid level again, since you will find they need topping up. Leave off the cell covers for the moment.
Step 4
Connect your battery charger to the battery terminals. The red clamp connects to the "+" terminal and the black clamp connects to the "-" terminal.
Step 5
Select the lowest charge setting you can on your battery charger; its probably called "trickle charge." Its imperative you charge your battery slowly and for a long time to successfully repair it. For the sulfation to disperse, the distilled water you poured in the cells has to change into electrolyte, which is actually sulfuric acid. Because your battery had boiled dry, there was no fluid in the cells so the cells currently contain pure distilled water.
Step 6
Turn on your battery charger and leave it to charge your battery for 12 hours. After 12 hours, take a look in the cells and feel the side of the battery, but dont turn off the charger. The battery casing is getting warm and small bubbles are beginning to rise in each cell, if the repair process is working. If the battery casing is completely cool and no bubbles are rising, theres little point in continuing as your battery isnt taking a charge. You need to get a replacement.
Step 7
Let the battery charge continuously for an additional 12 to 18 hours. This may seem like a long time, but its necessary to complete the repair. Now that you have seen bubbles rising, you know the repair is likely to work.
Step 8
Turn off the charger. Remove the clamps from the battery terminals. Have a quick look in the cells -- bubbles are rising rapidly. Most, if not all, of the sulfur deposits have dispersed. The side of the battery is also fairly warm, so you can be confident that your battery is repaired.
Replace the plastic cells caps. Screw then on using your fingers and then tighten them using a screwdriver, if appropriate.
Items you will need
- Screwdriver
- Distilled water
- Battery charger


