
Contenu
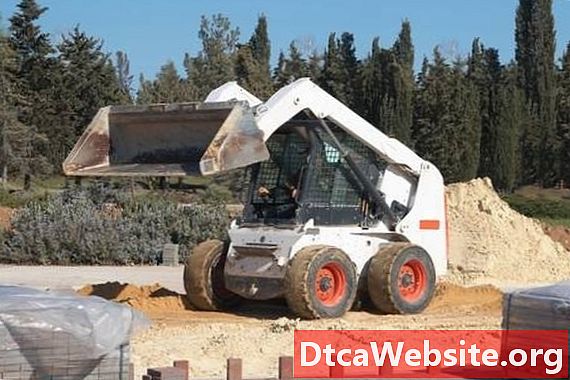
Squeaking, groaning and other horrible noises emanate from the front of your Bobcat Skidsteer every time you tilt the bucket up or down. Youve tried to grease it, but a couple of the fittings wont take grease. Is it time to it to the repair shop for an expensive repair? The answer to this question is no, as long as you are willing to spend an hour or two and get a little dirty, because you can install new bucket bushings yourself.
Step 1
Tilt the attachment plate forward all the way (bucket off) and lower onto wood supports, such as pieces of 8-inch by 8-inch beams.
Step 2
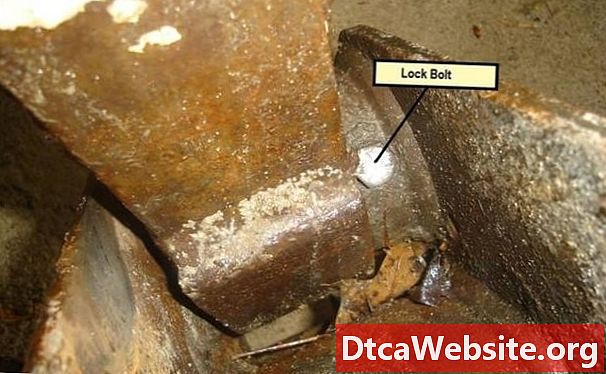
Locate the lock bolt for each of the four bushings. This is a large bolt that passes through the pivot shaft. Remove these bolts using a 9/16-inch socket and a 9/16-inch wrench.
Step 3
Drive the two upper pins out of the attachment plate and the tilt piston rod ends using a hammer and large punch.
Step 4
Drive the lower pins out of the attachment plate and the lift arms using the hammer and large punch.
Step 5
Retract the tilt pistons to get them out of the way. Raise the lift arms away from the attachment plate.
Step 6
Drive the old bushings out of the lift arms using a bushing driver and hammer.
Step 7
Install the new bushings in the lift arms. Center the bushing in the arm, which will leave enough room to install a new seal on both ends of the bushing. Install the grease seals using a seal driving tool.
Step 8
Remove the bushings from the tilt piston rod ends. Install the new bushings in the rod ends using a hammer and bushing driver. These bushings do not have grease seals and will extend to both sides of the rod end.
Step 9
Lower the lift arms to the attachment plate. Align the holes and install the pins, being careful to keep the holes for the lock bolts aligned. Install the lock bolts and nuts and tighten securely.
Step 10
Extend the tilt pistons to align the eyes with the attachment plate and install the pins. Again, take care to align the holes for the lock bolts. Install the lock bolts and nuts and tighten.
Pump grease in the fittings in each pin until you see it just start coming past the end of the bushings.
Tip
- If a proper tool isnt available, a socket that is just very slightly smaller than the diameter of the bushing can be used as a bushing driver.
Warning
- Always wear safety glasses when using a hammer and punch.
Items you will need
- Replacement bushings
- Replacement grease seals
- 1/2 drive ratchet with 9/16-inch socket
- 9/16-inch wrench
- Hammer
- Large punch
- Bushing driver set
- Seal driving set


