
Contenu
Golf carts come in various designs and speeds. Typically a golf cart holds a series of 6-volt batteries that power the drive train. The number of volts is determined by the number of batteries installed in the golf cart battery box. You can upgrade the battery system by replacing the current batteries with four 12-volt batteries for added power. By having a higher amp-hour rating on the larger batteries, you can avoid more recharging times for the cart. You can replace the batteries with a few simple tools and limited knowledge of electrical circuits.
Step 1
Determine the number of volts the golf cart requires to operate. You can read the owners manual to find the information, or you can remove the battery casing and see how many batteries are in the box. Multiply by six by the number of batteries you see to calculate the total voltage. The total should equal either 36 or 48.
Step 2
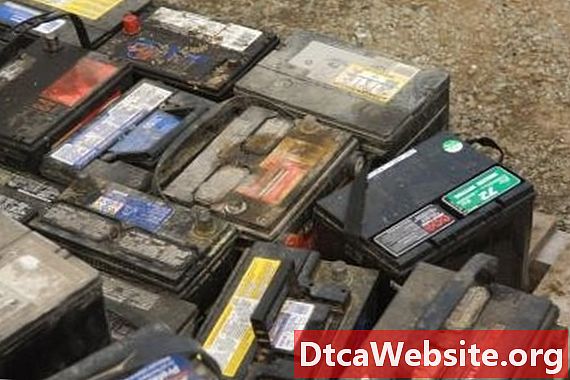
Locate the battery label to find out what the amp-hour rating is of the current batteries installed. As you choose to replace the old batteries with the new 12-volt batteries, you want to make sure amp-hour usage is at least the same or of higher rating. This will improve the length of time the golf cart can operate and reduce the number of times you may need to recharge the batteries.
Step 3
Use the wrench to remove the connectors on each of the batteries. Remove each battery. Use the wire scrub brush to clean the connectors so the charge to the batteries will be strong. Measure the space in the battery box so you can determine if it is large enough to hold the four 12-volt batteries.
Step 4
Examine the battery connector cables that were connected to the older batteries. It is possible the connectors will fit onto the new batteries. If not, install the new 12-volt battery connecting leads you purchased. To connect the cable, use the screwdriver to open the tip so it slides over the terminal on the battery. Once you slide the connector over the terminal, tighten the screw so it fits securely over the terminal.
Step 5
Place one of the 12-volt batteries in the cart box. Position the battery so the positive connection is near the battery connecting lead. Place the other batteries in the cart box with the opposite polarity terminals side by side. The final battery should have its negative connector facing the cart boxs negative battery connector.
Step 6
Check to make sure the ignition switch on the golf cart is turned off. Align the batteries in the cart box so you can connect them in sequence. You will want to place negative connector cable of the first battery over to the positive connector cable of the second battery. Then you will place the negative connector of the second battery over to the positive connector of the third battery. Continue this process until you have linked all four batteries together.
Connect the positive connector lead from the cart to the positive terminal of the first battery you installed. Move to the end of the battery box and place the negative connector cable to the negative terminal of the final battery. Turn on the switch, and your golf cart should work.
Items you will need
- Four 12-volt batteries
- Four connecting leads
- Wrenches
- Wire scrub brush


