Contenu

Many BMW owners and enthusiasts share a common bond in their collective frustration with the manufacturer-supplied touch up paints. Although formulated to closely match the paint on their vehicles, most users find them difficult to apply well. The answer lies in the technique used to apply the paint to chips and other damaged areas of the cars finish. The manufacturer, Bavarian Motor Works (Bayerische Motoren Werke AG), provides both a matching paint and a clear protective coat. Unfortunately, the majority of users are unprepared for the viscosity of the paint, and the brush that is included isnt well suited to the purpose for which it was intended. This often results in gelatinous clumps of color that usually lead to an expensive trip to the dealers repair shop. The article that follows was written to help you to avoid these problems. In addition to the items that you will need, bring along plenty of patience. Touching up the paint on your BMW will be a slow process, but the results will be worth it for a job that is done well. Set aside an afternoon for doing this, and be very careful that you do not rush through any of the steps.
Step 1
Clean the chipped area free of any debris. Use moistened sandpaper on the edges of the chipped area just enough to make it smooth without adding scratches. Clean and dry the area again after sanding.
Step 2
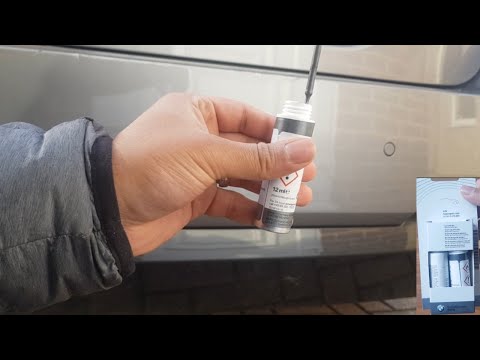
Apply the touch up paint with a toothpick with the tip broken off or a small, very thin, soft artists brush. Avoid using the brush that is provided with the paint kit. Allow a tiny amount of paint to smoothly adhere to the toothpick or the brush. If too much paint coats the toothpick or brush, gently clean it off and try again. Apply the paint by tapping it lightly in the center of the chip and letting it "run" to the edges, filling in the chip. It is important that you do not try to actually brush or stroke the paint onto the chip. Less is more, because many layers of paint will be needed to create an invisible repair.
Step 3
Allow the paint to dry according to the labels instructions.
Step 4
Repeat Steps 1 to 5 eight to 10 times for an optimal result.
Use ultra-fine,1600-grit sandpaper to gently smooth over the entire repaired surface where the chip used to be. Wet the sandpaper and sand as lightly as possible until the surface of the repair is completely flat and smooth. Finish by adding a layer of the clear coat from the kit, allowing the top coat to dry thoroughly, and applying car wax (if desired).
Tip
- Use as gentle a touch as possible when using the wet sandpaper. This is only to flatten the edges of the chip and to smooth the multiple layers of touch up paint, which is designed to "puff" slightly in order to fill in the imperfections.
Warning
- Always apply less paint with each layer than you may intuitively think is needed. You can easily add more later. It is far more difficult to remove excess paint once it has been applied.
Items you will need
- 1600-grit sandpaper (ultra-fine grain)
- Toothpick or thin artists brush
- BMW touch up paint
- BMW clear coat
- Car wax and cloths (optional)


