Contenu
- On-Starter Solenoid
- Step 1
- Step 2
- Step 3
- Step 4
- Step 5
- Remote-Mounted Solenoid
- Step 1
- Step 2
- Step 3
- Step 4
- Step 5
- Step 6
- Tip
- Items you will need
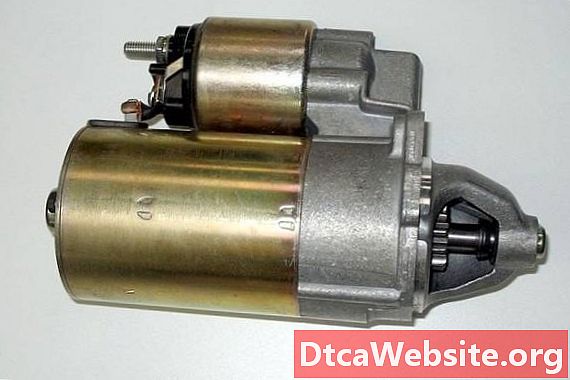
Most vehicles use a starter-mounted solenoid that functions as a high power switch to connect the starter drive pinion gear with the flywheel to start the engine. Most on-starter solenoids are easy to wire as you mount the starter on the engine. Other solenoids--mostly on Fords--are remote mounted. These solenoids are located in the engine compartment close to the battery, which makes it much easier to wire. Whether you have an on-starter or remote-type solenoid, follow these steps to wire the unit in a matter of minutes.
On-Starter Solenoid
Step 1
Disconnect the black negative cable from the battery.
Step 2
Raise the vehicle using a jack and support it safely on jack stands if necessary. Depending on your vehicle model, you might have to install and wire the starter-solenoid assembly from underneath the car.
Step 3
Bring the starter as close as possible to its mounting bracket on the engine. Sometimes you can use the jack to support it while you make the electrical connections, and this comes in handy since the starter is somewhat heavy and awkward to work on while you hold it with one hand.
Step 4
Use a wrench or ratchet and socket to connect the red battery cable to the big bolt on the solenoid and the bypass ignition terminal wire to the small bolt underneath the first bolt. If there is enough room, you might want to start threading the starter mounting bolts without tightening them before you make the connections.
Step 5
Make sure the wires are well connected and finish mounting the starter on the engine.
Lower the vehicle and reconnect the black negative cable.
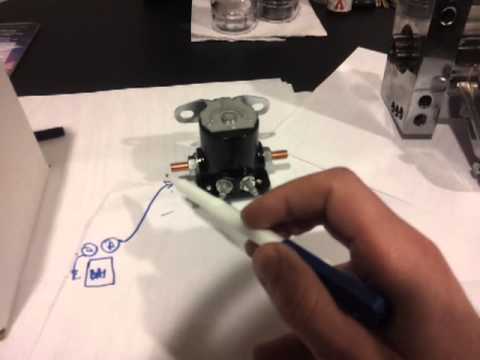
Remote-Mounted Solenoid
Step 1
Disconnect the black negative cable from the battery.
Step 2
Mount the solenoid in place in the engine compartment using a wrench or ratchet and socket.
Step 3
Connect the red cable coming from the battery to the large bolt on the left-hand side of the solenoid.
Step 4
Connect the starter cable to the large bolt located on the right-hand side of the solenoid.
Step 5
Connect the control wire to the small control circuit terminal on the left-hand side of the solenoid. It is usually marked with the letter "S" (see Tips below).
Step 6
Connect the other small wire to the ignition bypass terminal, which is on the right-hand side of the solenoid.
Reconnect the black negative battery cable.
Tip
- Consult your vehicle service manual to locate and identify circuit wires and components on your particular vehicle. You can buy a vehicle service manual at most auto parts stores or consult one for free at your local public library.
Items you will need
- Jack and jack stands Wrench set Ratchet and socket set


