
Contenu
- Step 1
- Step 2
- Step 3
- Step 4
- Step 5
- Step 6
- Step 7
- Step 8
- Step 9
- Step 10
- Step 11
- Step 12
- Step 13
- Items you will need
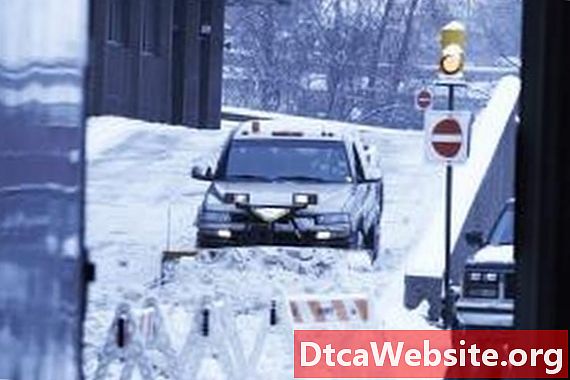
Snow plow lights are used to provide additional light at the front of the truck. This is because the plow can sometimes block the illumination from the factory headlights. Wiring these lights requires making connections to the vehicle marker and signal lights as well as the battery. Finding the right connections is a job of trial and error. Once you know where to fasten the wires the installation process is simply making the connections.
Step 1
Turn the vehicles ignition to the power "On" position. Turn on the left turn signal using the drivers controls.
Step 2
Open the front hood of the truck and locate the wiring harness for the left head light. This is typically directly behind the headlamp. Disconnect the harness by pulling it apart.
Step 3
Connect the 12-volt test lights alligator clip to a section of bare metal near the left turn signal. Probe the left head lights bare metal connections, inside the harness, until the test light begins to flash. You have now found the power wire for the left turn signal. Repeat this process to find the power wires for the right signal and marker lights.
Step 4
Run the blue wire from the right lights wiring harness to the power wire for the right signal. Connect the blue wire to this power wire with a scotch lock connector. These work by placing one wire in each groove and closing the gate.
Step 5
Run the blue wire from the left lights wiring harness to the power wire for the left signal. Connect the blue wire to this power wire with a scotch lock connector.
Step 6
Run the yellow wires from both lights to the power wire for the marker lights. Connect these wires to the power wire with a scotch lock connector.
Step 7
Run both white wires from the lights to a good grounding location. This is typically under a bolt fastened to the body or frame. Back the bolt off one full turn, slide the wires underneath, and tighten the bolt down.
Step 8
Run the green and red wires from each head light to the cab of the vehicle. You can pass through the firewall via a rubber grommet that is located in the drivers side foot well.
Step 9
Guide the red and green wire to the toggle switch for the snow plows headlights. Loosen the terminal screws marked "High Beam" and "Low Beam."
Step 10
Insert the red wire into the high beam terminal and the green wire into the low beam terminal and tighten them down.
Step 11
Strip 3/8 inches of insulation off the insulated wire. Loosen the terminal marked "Power" on the switch for the plow lights. Insert this wire into the terminal and tighten it down.
Step 12
Run the insulated wire back through the firewall and to the vehicles battery. Cut the wire to the correct length and strip 3/8 inches of insulation off the end.
Step 13
Loosen the red positive terminal on the battery and slide this wire underneath. Tighten the terminal on the battery down
Wrap all of the connection in electrical tape and secure the loose wires with cable ties.
Items you will need
- 12-volt Test light
- Scotch lock connectors
- Insulated wire
- Wire cutters
- Wire strippers
- Screwdriver
- Wrench
- Cable ties
- Electrical tape


