
Contenu
Automobile alternators perform more duties than simply recharging a cars battery. A cars battery only provides enough power to operate the vehicles starter when starting. Once the vehicle is running, pulleys on the running engine rotate a belt connected to the alternator, which then causes the internal coils of the device to generate power to replenish the battery for the next start and provide ongoing electricity to operate the vehicles accessories and lights while in operation. Since the 1960s, alternators have been of the 3-wire type.
Step 1
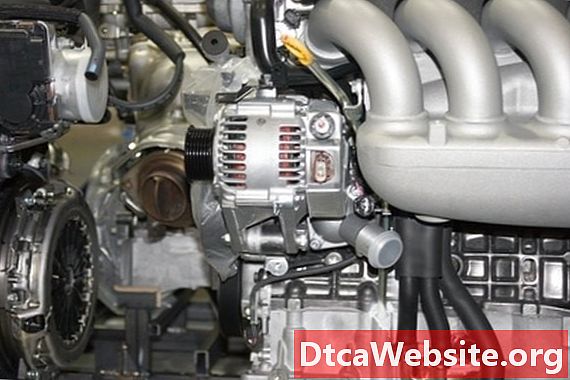
Inspect the back and sides of the alternator to locate the two wire connectors. One of the connectors is typically a threaded bolt protruding from the back (the opposite end from the pulley) that a wire with a boot on the connecting end is snapped onto. The other end of this wire should be connected to the +12V terminal on the backside of the vehicles starter, also known as the "positive voltage" connection to the starter.
Step 2
Look for a separate wire with a wire terminal on the end. It is the only other separate wire without a "boot" on the end of it, but rather a round slide-on terminal that slides over a bolt connected to the vehicles frame. This connection is "Ground" and completes the negative (-) voltage side of the electrical circuit. The terminal is slid over the threaded post of a bolt and then secured by tightening a nut onto the terminal.
Identify the third wire, which is typically two wires with a snap-in plastic connector on the alternator end. This connector is manufactured so it may be inserted into the connector socket on the alternator one way only. If you are able to look at a manufacturers diagram of the alternators connectors, the wire that slides over Pin 1 of the alternator leads to the positive (+) connection on the vehicles battery and senses voltage. If the voltage rises above or falls below 12 Volts, the alternators internal voltage increases or reduces power output to maintain 12 Volts to the battery and the systems of the vehicle during operation. The second wire of the pair on Pin 2 of the alternator goes to the ignition. This permits power to begin flowing through the alternator as well as the other components of the car.
Tips
- Always mark each wire that you remove from an old alternator, if necessary, to ensure you can easily replace the wires in the correct connectors when you install the replacement alternator.
- Vehicles older than a 1960 model may require all of the connections of the alternator, except ground, to be connected to positive and negative terminals of an external voltage regulator instead of directly to battery and ignition connectors. Always match up red positive (+) wires with positive connectors and black negative (-) wires with negative connectors on such an external voltage regulator.


