
Contenu
Alternators can be set to produce different voltages (12 volts is the most common for cars, but on larger vehicles a higher voltage is required). Most alternators generally have two, sometimes three, wired connections, depending on the type of alternator. If you have a two-wired alternator, you only have one 24-volt wire to troubleshoot, but if it has three wires you need to troubleshoot two. The best way to check the voltage is correct is to use a multimeter to measure the flow of electricity through the wire.
Step 1
Check the rear of your alternator to determine if it has two or three wired connections. If it has two, you need to troubleshoot the large cable connected to the alternator terminal labeled "B" or "Bat." The other wire is thin and is a low-voltage wire. If it has three, you need to troubleshoot the large red cable attached to the "B" or "Bat" terminal and the black wire attached to the "Gnd" or "Field" terminal. You may also find the terminals are labeled "Pos" and "Neg," respectively.
Step 2
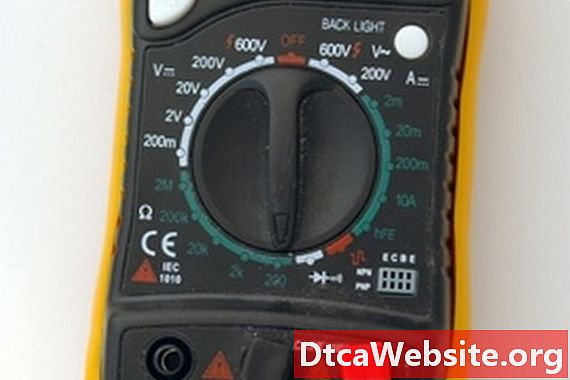
Check the voltage from your battery to ensure it has a charge. This is a starting point, as both battery cables ultimately link to your alternator. Set the multimeter to read voltage.
Step 3
Place the metal sensor on the end of the red wire from the multimeter onto the positive (+) battery terminal, then place the metal sensor on the end of the black wire from the multimeter onto the negative (-) battery terminal. Read the meter display. If it reads 24 volts, or similar, continue troubleshooting as your battery is fine. If theres no reading, or the voltage level is considerably below 24 volts, you need to charge your battery.
Step 4
Follow the red, 24-volt cable from the positive battery terminal. It leads to the alternator and connects to the terminal labeled "B" or "Bat." Place the sensor on the end of the red wire from the multimeter onto the metal alternator terminal. If you have a two-wired alternator, place the metal sensor on the end of the black wire onto the metal part of the vehicle. An unpainted bolt is a good example. If its a three-wired alternator, place the sensor on the end of the black wire from the multimeter onto the terminal labeled "Gnd" or "Field."
Step 5
Read the display on the multimeter. If it reads 24 volts, the connections are fine and electricity is flowing between the alternator and battery. If you are troubleshooting one wire and you dont get a reading, then you know its the red cable between the battery and alternator thats faulty. If you are troubleshooting two wires and you dont get a reading, you need to refine your troubleshooting to determine if its the red or black wire thats faulty.
Follow the red wire from the alternator towards the battery and youll see that it splits into two wires. One wire goes to the starter motor. Place the sensor on the end of the multimeter red wire onto the starter motor terminal. Place the metal sensor on the end of the black wire onto a clean metal surface. The casing of the starter motor is fine. Read the display. If you get a reading, the red cable is fine so you know its the black cable from the alternator thats faulty. If you dont get a reading, your red cable is faulty.
Items you will need
- Multimeter


