
Contenu

This line of motor home refrigerators, originally introduced in 1983, has produced three separate series over the years, featuring the Automatic Energy Selector Control System, or AES. AES enables the refrigerator to automatically select the mode of operation in this order: 120-volt AC, 12-volt DC or LP gas. The customer only has to turn the refrigerator ON and select the desired internal temperature. The RM 763 is the six cubic foot version of the first model series introduced. Should it malfunction, troubleshooting it requires a careful, systematic approach.
Step 1
Plug the coach into a 120-volt outlet to pre-cool the refrigerator. Turn the unit on, set the thermostat on 4 and look for the light to glow green. The green light tells you the unit is on and has sufficient voltage. Unplug the coach from its 120-volt outlet, and the refrigerator will light the LP burner assembly. The burner assembly will run the refrigerator until the ignition is turned on, and the 12-volt source will run the unit while traveling. If any of the above fails to happen, start the following troubleshooting sequence.
Step 2

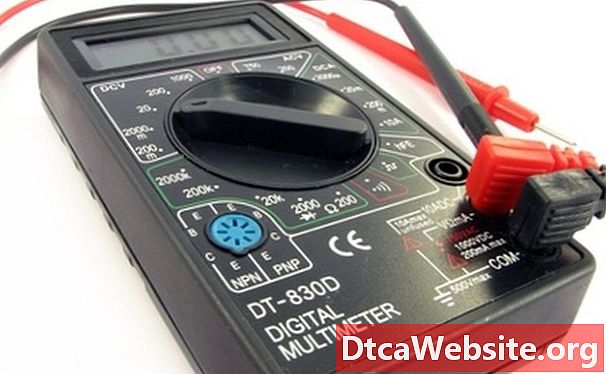
Check the DC power supply first. Inspect the power supply and confirm that the wiring is correctly gauged. Use a volt meter at the terminal block to verify that the incoming voltage is between 10.5 and 13.5 volts. Make sure the right wire polarity was used at install. Check the battery negative and positive battery leads to be sure they are connected to the corresponding connections on the terminal block.
Step 3
Examine the 3-amp fuse to see if it is blown. If it is, check the 12-volt wiring on the coach and refrigerator, and repair or replace it as needed. Do not use an automotive quick blow fuse for replacement of the 3-amp fuse, as they may blow under normal refrigerator use.
Step 4

Move next to the thermostat and check the leads along with the thermostat itself. Make sure the thermostat cable is solidly connected to the circuit board. Remove the screw and plastic cover to the interior light thermostat. Remove the two thermostat leads and tape them together with electrical tape, bypassing the thermostat from the electrical circuit. If the refrigerator starts working, replace the thermostat.
Step 5
Inspect the main switch next. Look closely at the switch cable for any damage or cuts and that the plug connector is firmly inserted into the ed circuit board connection. If so, disconnect the battery leads before troubleshooting each switch with an ohm meter, per the AES Diagnostic Manual. These steps are too long to include here.
Troubleshoot the solenoid valves internal winding next. Disconnect all power from the refrigerator and unplug the connector at the solenoid. Use an ohm meter to check resistance of the upper and lower terminals on the valve assembly. Look for 20 ohms with 10% tolerance range. Zero ohms or ohms outside tolerance means a defective solenoid valve winding.
Tip
- If all else checks, the circuit board is the problem.
Warning
- If all circuit board connections are good, but you see burned places, replace it.
Items you will need
- Screwdriver
- Flashlight
- Volt meter
- Pliers
- Ohm meter


