
Contenu
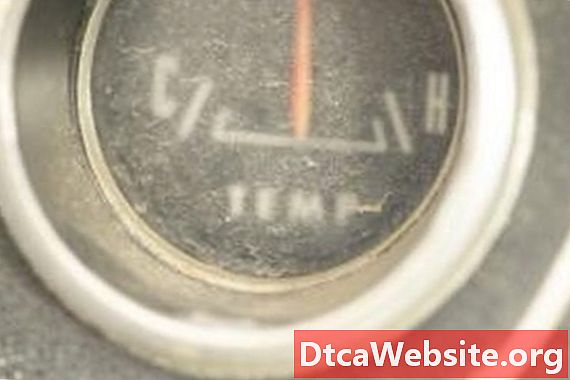
Your boats water temperature gauge provides important information about your engine. The gauge indicates your engine operating temperature and tells you whether the engine is in danger of overheating. Unfortunately, the marine environment can cause the gauge or the er to fail. This failure leaves you in the dark about your engines cooling system. Successful troubleshooting and repair can save you valuable time and money. This precludes more expensive repairs and gets you out on the water again quickly.
Step 1
Access the back of the water temperature gauge. Remove any panels that allow you free access to the instrument panel. Turn the boats battery switch off.
Step 2
Inspect the connections on the back of the gauge. Ensure the crimp terminals are connected, tight and corrosion-free. If corrosion is present, remove the connections and clean with a piece of sandpaper until the crimp terminals are bright metal.
Step 3
Measure the voltage at the gauge terminals. Set your volt-ohm meter to the 12 volts DC setting. Attach the red lead to the gauge terminal marked "I" for ignition and the black lead to the terminal marked "G" for ground. Turn the battery switch on. Turn the engine start key switch to "I." The meter should read 12 volts. If the meter does not read 12 volts, ensure the circuit breaker for the engine instrument is on.
Step 4
Remove the wire from the "S" terminal on the gauge. The temperature gauge should read below 120 degrees with power still applied.
Step 5
Connect the "S" terminal to the "G" terminal with a jumper wire with alligator clips on each end. The gauge should read above 240 degrees. The gauge is working fine if it passes these tests. Therefore, the problem is with the temperature er.
Step 6
Turn off the battery switch. Remove the jumper from between the "S" and "G" terminals. Reconnect the "S" wire to the "S" terminal. Reinstall the access panels.
Step 7
Locate the engines temperature er. The er is a brass fitting with a single tan-colored wire on a screw terminal. Consult your engines service manual if you need help finding the er.
Step 8
Disconnect the wire from the er terminal. Set your volt-ohm meter to the 1K ohm scale. Measure the resistance between the er terminal and the engine ground. The temperature er is faulty if the resistance measures 0 ohms when the engine is cold, or if the resistance is infinite or open. A functioning er has a resistance of between 600 to 800 ohms at 70 degrees Fahrenheit and 55 ohms at 212 degrees Fahrenheit.
Step 9
Remove the er from the engine with a box wrench. Ensure there is no Teflon tape or sealant on the threads. A proper temperature reading is dependent on a good electrical contact between the ers threads and the engine block.
Step 10
Clean the er threads. Reinstall the er without sealant.
Step 11
Reconnect the tan wire to the er.
Start the engine. Check for leaks at the temperature er.
Items you will need
- Volt-ohm meter
- Alligator clip jumper wire.
- Sandpaper
- Open end wrench set


