
Contenu
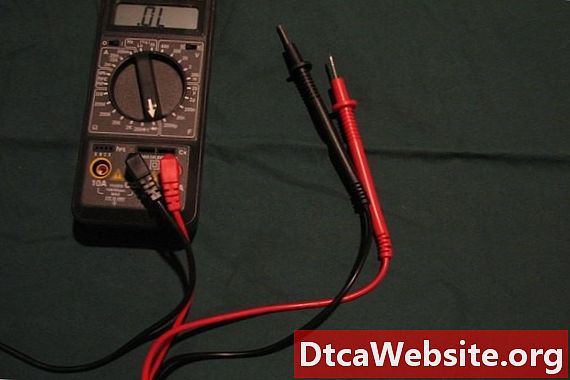
This article discusses how to test a switch with an ohm meter. Photos show how to connect the ohm meter to the switch for testing.
Step 1
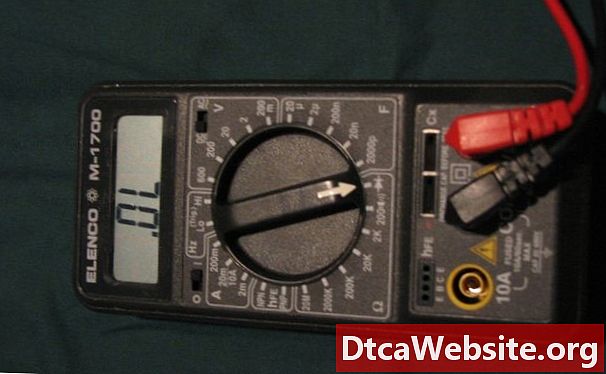
Verify ohm meter operation. Turn on the multimeter. Select the ohm meter function. Set the resistance range to x1. Skip this step if the ohm meter has autorange capability.
Step 2
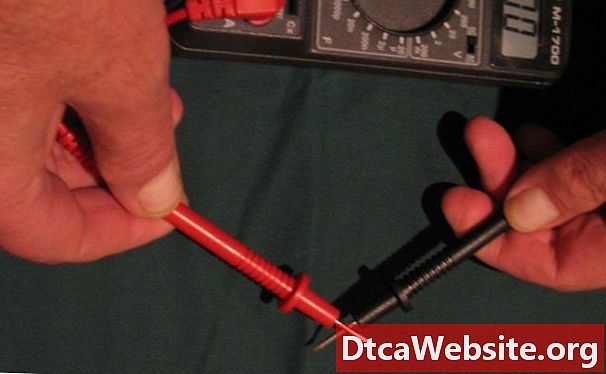
Insert the leads into the meter Touch the probe tips together to verify that ohm meter is functioning. With the probes touching, the meter should display 1 ohm or less. A high reading or no reading means that is something wrong with the meter. Go back and check the setup or get another meter.
Step 3
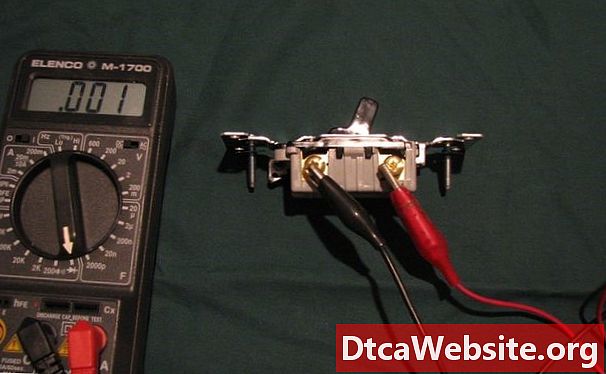
Connect the red lead to one of the terminals on the switch. Connect the black lead to the other terminal on the switch. Put the switch into the ON position. The meter should display 1 ohm or less, meaning the switch is ON.
Step 4
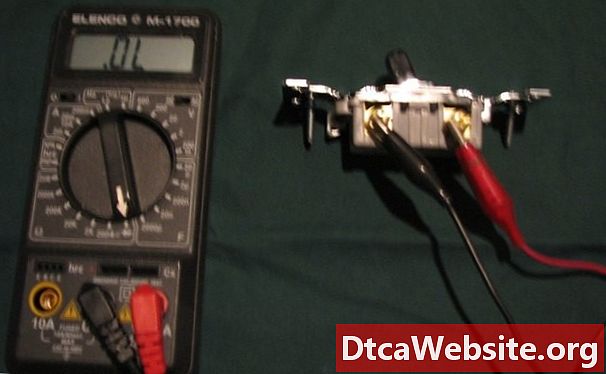
Put the switch into the OFF position. The meter should display OL or a very high resistance, meaning the switch is OFF.
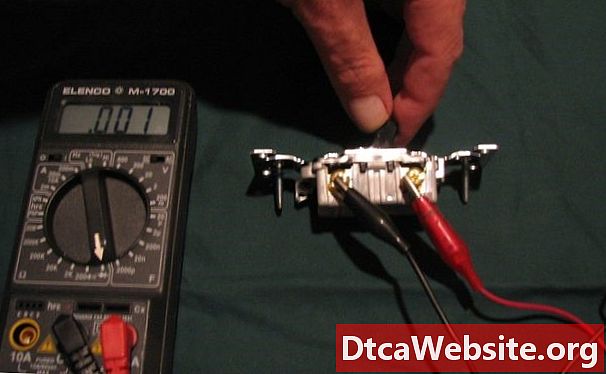
Operate the switch on and off for a few more times. If the meter display changes from ON condition to OFF" condition, the switch operates normally. If the display does not change from ON to OFF condition, then the switch is defective. Purchase a new switch to replace the defective switch, then throw the defective switch away.
Tip
- When removing wires from the switch, use masking tape to label which wire connects to which terminal of the switch. This is especially important when the switch has more than 2 terminals.
Warnings
- Avoid possible electric shock by turning off the circuit breaker feeding electrical power to the switch.
- Replace the defective switch with the same type and size.
Items you will need
- Multi-function meter, with ohm meter function
- Two wire leads with alligator clips


