
Contenu
The ignition coil on a Harley Davidson motorcycle is an essential component of the ignition system. It consists generally of two sets of wires that are wrapped around an iron core. This component comes sealed, and is not a repairable item. Fortunately, testing is relatively straight forward, requiring a pair of resistance measurements made at the connection terminals on the coil. The time necessary to complete this task should be no more than 15 to 20 minutes.
Step 1
Turn off the motorcycle. Allow the engine to become cool to the touch before proceeding.
Step 2
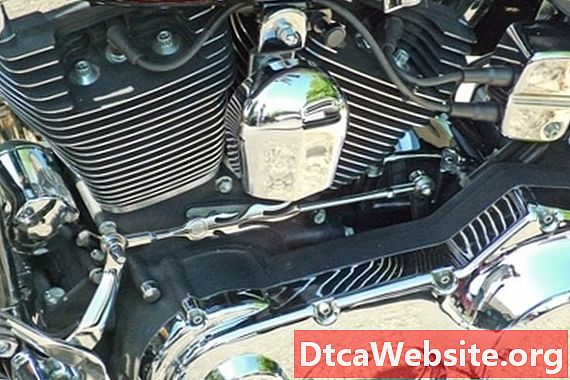
Disconnect, by hand, the two spark plug wires from the coil. Unscrew the smaller connections on the coil with an SAE wrench.
Step 3
Set the ohmmeter to read resistance on the "Rx1" setting. Measure the resistance across the two smaller terminals on the coil. The meter should read between 2.5 and 3.1 ohms.
Step 4
Set the ohmmeter to read resistance on the "Rx1000" setting. Measure the resistance across the two larger terminals on the coil. The ohmmeter should read between 10,000 and 12,500 ohms.
If the meter reads outside of the ranges for either of the above measurements, then the coil is faulty and should be replaced.
Tip
- Sometimes a coil will only give a faulty reading when it is hot from riding. In this instance, it may be necessary to allow the coil to heat up before performing a resistance measurement. Exercise extreme caution when working around a hot motorcycle.
Items you will need
- SAE wrench set
- Ohmmeter


