Contenu

If your turn signal has stopped working, there are several possible reasons. You could have a bad bulb in the turn signal or in the dash indicator. Or you could have a blown fuse. Those are simple items to check first. However, if they dont solve the problem, then you either have a bad flasher or a bad turn signal switch assembly. To perform these troubleshooting steps, youll need your vehicles owners manual, which contains schematics for the electrical components of the turn signal.
Step 1
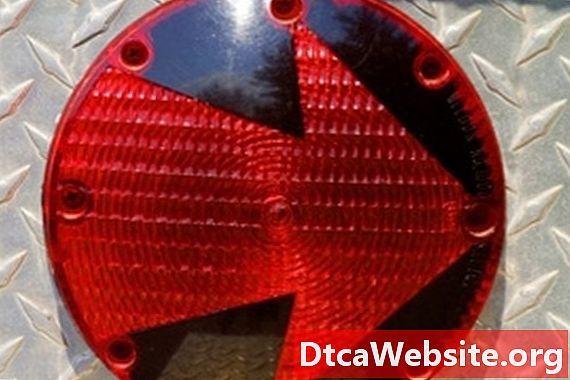
Identify which turn signal bulb is not working. There are normally two on the drivers side and two on the passengers side, at both the front and the back of the vehicle. Open the hood or trunk and unscrew the bolts attaching the bulb assembly to the frame so that you can replace the bulb that is not working. Unscrew the bulb and replace it. See your vehicles owners manual if you need help unbolting the bulb assembly. If this fixes the problem, stop. If not, go to Step 2.
Step 2
Find the fuse box, usually under the dashboard, where the turning light signal indicator fuse is found. Remove the fuse, using needle-nosed pliers if you have a hard time gripping it with your hands. Insert the new fuse, pressing it into position with your finger. If this does not resolve the problem, continue to Step 3.
Step 3
Determine how, according to the owners manual, to access the in-dash lightbulbs if the turn signal does not display in the dash. You may need to remove a part or all of the vehicles dashboard to access the bulbs. If the turn signal displays and flashes correctly in the dash, proceed to Step 4. If the signal is flashing too quickly or too slowly, you may have the wrong type of bulb installed. Change the turn signal bulb, using a replacement of the type listed in your owners manual. If this does not solve the problem, proceed to Step 4.
Step 4
Use the adjustable wrench to disconnect the negative battery cable from the negative battery terminal post.
Step 5
Use the Phillips or flathead screwdriver to remove the cover from around the area of the steering column where the turn signal flasher and turn signal assembly are located.
Unplug the flasher. Note that there are three prongs, two vertical and one horizontal. Apply one test wire to the horizontal prong and one to a vertical prong. Listen to hear the flasher click. If it does not click, test it again using the horizontal prong and the other vertical prong. If it does not click, replace the flasher. If it clicks or if replacement does not resolve the problem, your turn signal switch is bad.
Tip
- If you dont have a 12-volt power source or you are uncomfortable performing the test on your own, you can take the flasher to a local auto parts store and ask that the store test it for you. Many stores will do this free of charge.
Items you will need
- Vehicle owners manual
- Needle-nosed pliers
- Adjustable wrench
- Phillips and flathead screwdrivers
- Replacement bulb for turn signal
- Replacement fuse for turn signal
- Replacement bulb for in-dash turn signal
- 12-volt power source
- Replacement flasher


