
Contenu
Although the AC, or air conditioning, lines in most cars today are aluminum, there are still plenty of older cars out there that use rubber hoses for their AC systems. Rubber hoses are flexible and versatile, and are fairly easy to repair, but the rubber decays over time. In addition, misplacement can lead to burnt hoses. Rubber AC lines should be checked periodically for damage, and repaired immediately whenever necessary, otherwise you might find yourself driving during a hot day without the benefit of a cool breeze.
Step 1
Turn off the car, put it in "Park," engage the emergency brake and let the engine cool off. Its best to start this repair after your car has cooled overnight, to avoid being burned by hot engine parts.
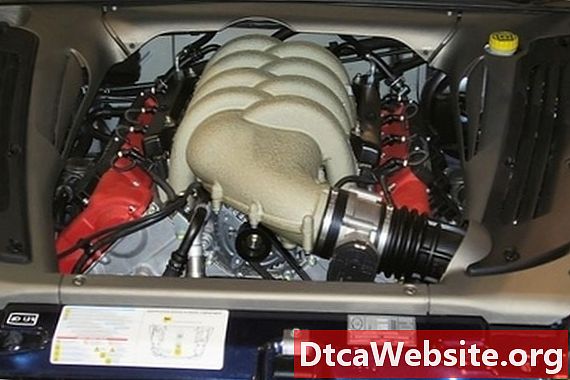
Step 2
Open the hood of the car. Locate the section of the AC hose you wish to splice.
Step 3
Lock the hose cutter around around the hose on one side of the worn or broken area. Tighten the hose cutter. Turn the hose cutter around the hose, tightening it every few turns, until the hose is cut through. Try to make the cut in the hose as perpendicular to the hose as possible. Allow any liquid in the hose to drain away. Brush off any excess rubber slivers.
Step 4
Repeat Step 2 on the other side of the break in the hose. Discard the damaged piece of hose. If you are adding a hose, rather than repairing a hose, only one cut will be needed.
Step 5
Slip a hose clamp ring onto both cut ends of the hose. Keep the rings loose. If you are adding a hose, slip a clamp ring onto that hose, as well.
Step 6
Insert one end of the hose splicer into one of the cut ends of the hose. The hose splicer end will be ridged, shaped like a cone. Press it into the hose until the end of the hose presses covers the ridges completely. If you have trouble inserting the hose, use a pair of pliers to grasp the hose, hold the splicer in the other hand and wiggle the splicer back and forth until it slips into the hose.
Step 7
Repeat Step 6 with the second cut end of the hose. Use a two-way hose splicer for hose repairs, and a three- or four-way splicer if you are adding additional hoses. Each ridged cone of the hose splicer needs to be inserted into a hose, and each hose needs to have its own hose clamp.
Step 8
Slide the clamp rings up the hose, and position them over the ridged area of the splicer. They should be as close to the cut ends of the hose as possible, but there should be hose beneath the entire width of the clamp.
Step 9
Tighten the clamps with a screwdriver.
Step 10
Turn on the car and let the AC hoses fill with fluid. Test for leaks by feeling the hoses with your fingers, or by running a paper towel along their leaks and checking the paper towel for moisture. If you are installing additional devices, they should be fully attached and installed before turning on the car.
Repair any leaks by tightening the hose clamps, or checking for additional hose damage.
Tips
- If a hose splicer simply will not fit in the hose, check the cars AC hose specifications. If the specifications are correct, try heating up the hose with a few passes of a lighter to warm the plastic. Do not overdo it, as the hose will melt when exposed to continuous flame.
- Two hose splicers and an extra length of hose may be required when dealing with exceptionally large hose tears.
Warnings
- Never attempt to repair hoses on a hot engine.
- Check your cars warranty before installing any engine add-ons.
- Do not use a power drill to tighten hose clamps. The hose clamp thread will become stripped, rendering your hose clamps useless.
Items you will need
- Hose cutter
- Hose splicer
- Hose clamps
- Pliers
- Screwdriver
- Extra hose


