
Contenu
The Honda Civic was put into production in 1973 and has been a class leader in fuel economy since that time. The original model boasted over 40 mpg, something a lot of other manufacturers still struggle to achieve. The Civics dipstick tube is located next to the timing covers. A bent or broken dipstick tube should be replaced. At the base of the dipstick tube, where it meets the engine block, is an O-ring that forms a seal to prevent oil from leaking out of the engine.
Dipstick Tube Removal
Step 1
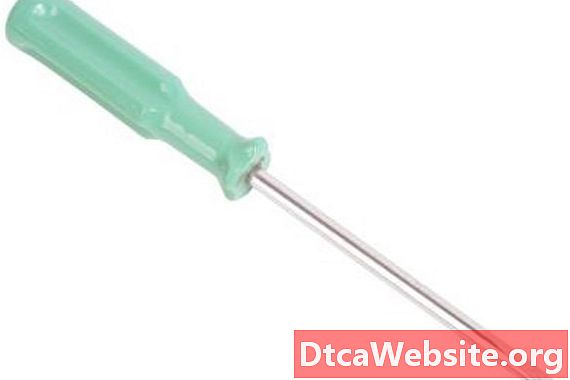
Remove the dipstick. Locate the metal retaining clip about halfway down the dipstick tube. Use the small, flat-head screwdriver to pull it away from the dipstick tube.
Step 2
Pull the top of the dipstick tube out of the plastic clip at the top of the timing cover.
Twist the dipstick tube while pulling it out of the engine block.
Dipstick Tube Installation
Step 1
Install the new O-ring on the new dipstick tube until it rests against the flange. Coat the O-ring in clean engine oil.
Step 2
Slide the new dipstick tube into the hole in the engine block and seat it in the plastic clip on the top of the timing cover.
Install the metal retaining clip on the new dipstick tube, insuring that it snaps into place. Insert the dipstick into the dipstick tube.
Tips
- Clean the area around the hole in the engine block before removing the dipstick tube.
- Allow the engine to cool before working on it.
Items you will need
- Small flat-head screwdriver
- New dipstick tube
- New O-ring
- Engine oil


