Contenu
- Slave Cylinder Removal
- Step 1
- Step 2
- Step 3
- Step 4
- Step 5
- Step 6
- Step 7
- Slave Cylinder Installation
- Step 1
- Step 2
- Step 3
- Step 4
- Tip
- Warning
- Items you will need

The Nissan pickup truck was introduced by the Nissan Motor Company in 1983. The Nissan pickup was considered a "compact" to "mid-sized" truck and was Nissans answer to the Ford Ranger and Chevrolet S-10. Nissan has found its truck sales to be successful with the four-wheel-drive and off-road community. As with any automobile, regular service and maintenance is necessary to maintain vehicle performance and fuel mileage. Replacing the clutch slave cylinder can be performed with common tools and moderate automotive-repair knowledge.
Slave Cylinder Removal
Step 1
Disconnect the negative battery cable from the vehicles battery.
Step 2
Raise the front of the vehicle with a jack. Place one jack stand under each “A” arm located behind each front wheel assembly. Lower the front of the vehicle onto the jack stands. Make sure the vehicle is stable. Remove the jack.
Step 3
Locate the clutch slave cylinder under the vehicle, on the right side of the transmission bell housing.
Step 4
Remove the tension spring from the clutch fork by compressing the spring with pliers and pulling the spring away from the clutch fork. Set the spring aside.
Step 5

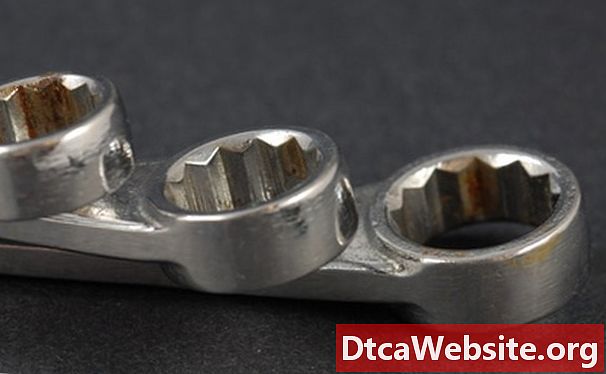
Remove the hydraulic line from the slave cylinder using a box-end wrench, turning the hydraulic line fitting counterclockwise until the hydraulic line can be pulled out of the slave cylinder.
Step 6
Turn the slave cylinder push-rod clockwise by hand until there is enough room to clear the clutch fork.
Step 7
Remove the two slave cylinder mounting bolts using a socket and socket wrench, turning the bolts counterclockwise.
Pull the slave cylinder off the transmission bell housing.
Slave Cylinder Installation

Step 1
Insert the end of the hydraulic line into the new slave cylinder. Turn the hydraulic line fitting clockwise with a box-end wrench until the hydraulic line is fully seated in the slave cylinder.
Step 2
Place the slave cylinder over the mounting holes in the transmission bell housing. Insert the two slave cylinder mounting bolts through the slave cylinder and into the bell housing. Tighten both bolts using a torque wrench and socket until the slave cylinder sits flush on the bell housing and the manufacturers recommended torque level is reached.
Step 3
Turn the slave cylinder push-rod counterclockwise until it connects with the clutch fork.
Step 4
Install the tension spring onto the clutch fork by compressing the tension spring with pliers and inserting the spring on the clutch fork.
Raise the front of the vehicle with a jack. Remove the two jack stands. Lower the vehicle to the ground. Remove the jack.
Tip
- Always bleed the hydraulic clutch system after performing any repairs to it.
Warning
- Always disconnect the negative battery cable before performing any automotive repairs.
Items you will need
- Jack
- 2 jack stands
- Pliers
- Box-end wrench
- Socket wrench
- Sockets
- Torque wrench


