
Contenu
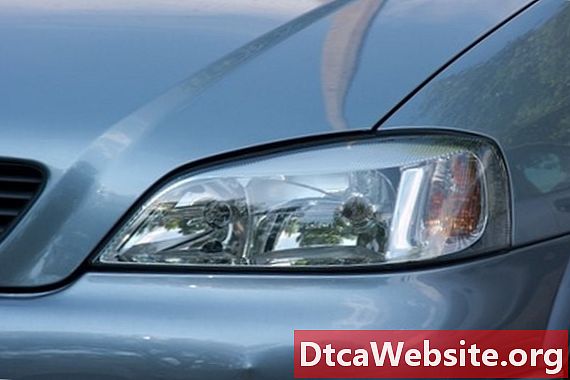
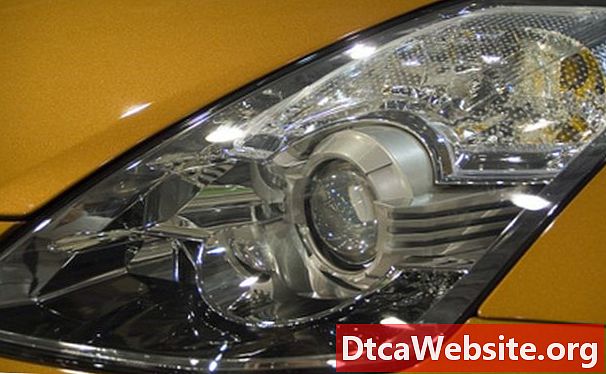
When GM introduced its Saturn Aura in late 2006, the design changes were not quite solidified. The 2007 model requires more than a simple twist and pull to remove its headlights. Whether it be an entire headlamp replacement, wiring repair or merely replacement of a burned out bulb, the double wall construction has the component you seek well tucked away. You will even be asking yourself "why would they design it this way?" The reason is usually for safety of the occupants. It is much better to have a safer, well protected vehicle than one with easy to replace parts.
Step 1
Remove the five, 10mm bolts and two spring clips securing the top grill shield above the radiator.
Step 2
Remove two, 7mm screws holding the top of the headlight down and one holding the top of the bumper cover to the headlight.
Step 3
Pry out three or four of the plastic push clips along the outside edge of the wheel well liner using a small screwdriver or putty knife. Remove the push clips and two screws along the bottom of the liner.
Step 4
Remove four screws securing the front edge of the gravel shield to the bumper cover underneath.
Step 5
Remove two, 10mm bolts holding the side of the bumper cover to the fender, from behind the loosened wheel well liner.
Step 6
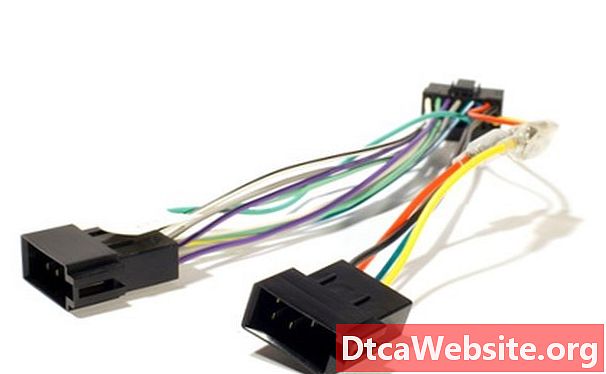
Gently lift the headlight assembly upward and out of the vehicle just enough to gain access to the wire harness. Carefully spread the two plastic tabs on the side of the harness plug to slip the wiring out from the socket.
Step 7
Hold the new headlight in close while connecting the harness to the plug. Then slip it into place and secure with the two, 7mm screws.
Reattach all shields and covers in reverse order of their removal.
Tips
- If a digital camera is available, take pictures of your project before and during the process for reference. It will answer many questions upon reassembly.
- Turn the steering toward the side you are working on to allow more room at the wheel liner.
- Using a cordless screwdriver or socket driver speeds up the process.
- Dont leave the screws and clips lying on the ground as you remove them. Keep them in separate containers.
Warning
- Though the fender is metal, the bumper cover and wheel liner are plastic. Be cautious not to over bend as it may crack or tear. If you still cant gain enough room to remove the assembly, dont force it, just remove another clip or screw to open up the space.
Items you will need
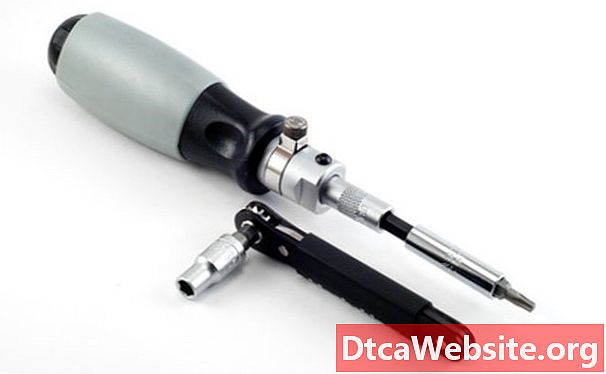
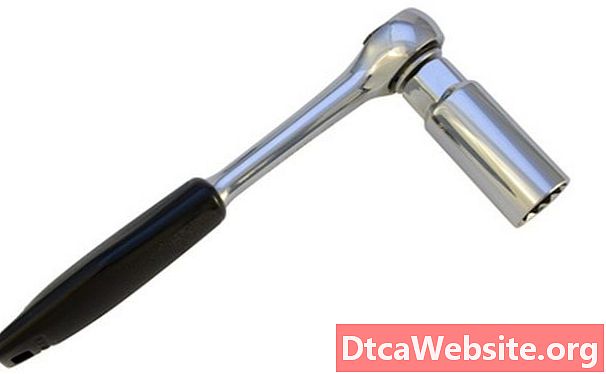
- 1/4" Drive metric socket set
- Wide blade screwdriver or panel clip removal tool
- Plastic or rubber hammer


