
Contenu
- Duck Head Repairs
- Step 1
- Step 2
- Rim Clamp Feet Repairs
- Step 1
- Step 2
- Step 3
- Step 4
- Step 5
- Items you will need
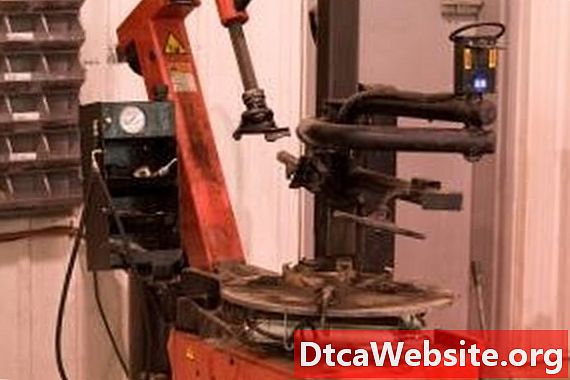
The process of changing automotive and off-road tires has become more and more complex over the years as tires have changed. The evolution from low-profile tires to 20-inch and larger rims and finally to tire pressure monitoring systems has meant that each new addition in tire technology has added stress to tire machines. And this, in turn, has stressed tire machines and led to broken components. Typically, the two most negatively affected parts on a tire machine are the duck head -- the part that guides the tire onto the rim -- and the clamp feet -- the components that hold the rim to the machine. But both components can be repaired using comparatively easy fixes.
Duck Head Repairs
Step 1
Lock the tire machines arm in place by pulling the locking lever at the top of the arm.
Step 2
Loosen and remove the bolt on the underside of the duck head -- the attachment at the end of the arm -- using a ratchet and socket. Pull the duck head from the arm.
Place the new duck head on the bottom of the arm and tighten the bolt. Use a ratchet and socket for this procedure. Unlock the tire changers arm.
Rim Clamp Feet Repairs
Step 1
Press the button on the side of the rim clamp foot -- the attachments on the turntable that extend out and hold the rim -- and pull the foot from its mount. The old button will remain in the mount.
Step 2
Grab the old button and pull it from the mount.
Step 3
Clean the old grease and grime off of the clamp foots mount using parts cleaner, a stiff bristled brush and shop cloths. Make certain to clean until no grease or grime remains.
Step 4
Apply a coat of graphite lubricant spray to the foot mount and allow it to dry according to the instructions on the spray.
Step 5
Place the new button, included in the clamp foot kit, into the hole on the mount. Press and hold the button while you slide the new foot onto the mount. Listen for the button to click into place; this indicates that the foot is fully mounted.
Repeat Steps 1 through 5 for the remaining three rim clamp feet.
Items you will need
- Ratchet
- Socket set
- New duck head
- Parts cleaner
- Stiff bristled brush
- Clean shop rags
- Graphite lubricant spray
- 4 new rim clamp feet kits


