Contenu
- Check Battery Charger Output
- Step 1
- Step 2
- Step 3
- Replace Plug Fuse
- Step 1
- Step 2
- Step 3
- Step 4
- Replace Battery Charger Fuse
- Step 1
- Step 2
- Step 3
- Items you will need
An automotive or car battery charger rarely goes wrong. A battery charger doesnt contain any moving parts and is simply a device that transforms mains alternating current (AC) into direct current (DC) at a much reduced voltage (usually 12 volts). The internal wire windings that transform the electrical current from AC to DC are not DIY serviceable components and, unless you are a qualified electrician, its not advisable to tamper inside the car battery charger. However, if you find that your charger refuses to charge your car battery you can easily repair the fuse in the mains plug and the fuse on the battery charger, as its highly likely to be one of the fuses that have blown.
Check Battery Charger Output
Step 1
Check that your battery charger is definitely not producing electricity. Its often the battery that wont charge and not the battery charger.
Step 2
Plug the charger into the mains electricity socket. Turn on the charger.
Step 3
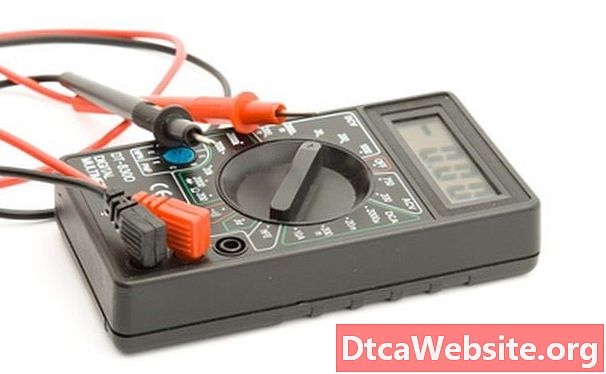
Use a voltmeter to determine if the battery charger is producing electricity. Place the end of the red wire from the voltmeter onto the metal clamp on the end of the red cable from the battery charger. Place the end of the black wire from the voltmeter onto the metal clamp on the end of the black cable from the battery charger.
Read the voltmeter display. If it reads just over 12 volts, the charger is working (so the issue is your battery). If theres no reading, the charger needs repairing (so check the fuses). You may sometimes get a small reading of perhaps one or two volts. This is due to electrical resistance and doesnt mean your charger is producing electricity.
Replace Plug Fuse
Step 1
Remove the plug from the main socket. Remove the cover from the plug using a screwdriver. Before changing the fuse, check the three wires are securely connected to the terminals. If any are loose or disconnected, it explains why your charger doesnt work. Tighten any loose connections using a screwdriver. If any are disconnected, loosen the terminal screw and insert the wire into the hole then tighten firmly.
Step 2
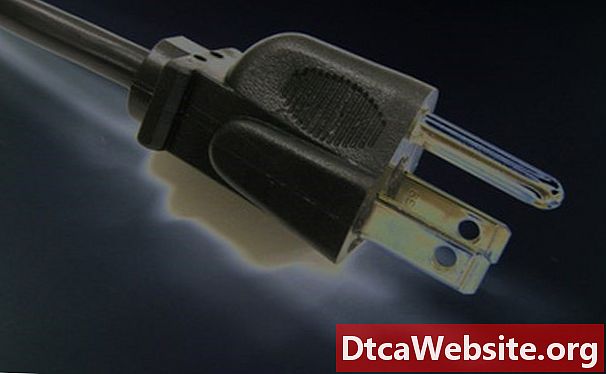
Remove the fuse from the plug. Use a small flat-head screwdriver to pry it out, as it can be difficult to remove using your fingers.
Step 3
Put in a replacement fuse into the fuse plug holder. Simply push it into place using your fingers. Ensure it is the same ampere rating as the fuse you removed.
Step 4
Replace the cover on the plug. Tighten using a screwdriver.
Insert the plug in the socket. Turn on the charger. Repeat the voltmeter test. If you get a voltage reading of just over 12 volts, youve successfully repaired your battery charger. If theres no reading, turn off the charger and unplug it. Follow the steps in section 3 to replace the fuse on the battery charger.
Replace Battery Charger Fuse
Step 1
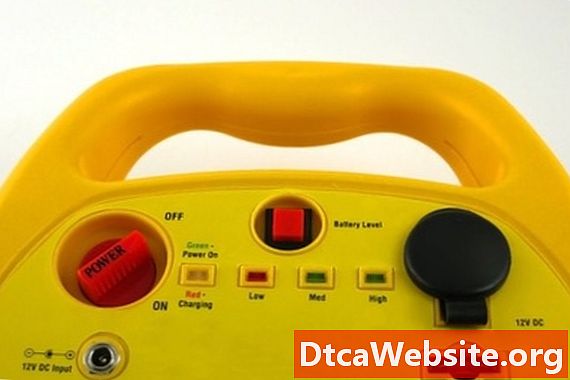
Locate the fuse on the battery charger. Its usually on the front, inside a clear plastic cover. You also usually find one or two spare fuses in the same location.
Step 2
Open the fuse cover using your fingers, or gently insert a screwdriver in the clip and pry it open. Remove the fuse from the fuse holder. Battery charger fuses can generally be pulled out using your fingers, but if you have problems just carefully ease it out using the screwdriver then remove it using your fingers.
Step 3
Put a replacement fuse into the fuse holder. It pushes into place. Close the fuse cover. Insert the plug into the mains socket and turn on the battery charger.
Test the output voltage from the charger. If the voltmeter has a reading of just over 12 volts, the battery is repaired. If theres no reading on the voltmeter, the battery charger has a problem with the internal wiring and you need to get it repaired by a specialist or get a new charger (probably cheaper).
Items you will need
- Voltmeter or multimeter
- Screwdriver
- Replacement fuses