Contenu

Putting a new wiring harness in an MGB was a consideration made by the cars company. Most of the wires on the harness will be fitted with the proper type connector for their use.They will also be the proper length and shape to reach their associated devices. Removing the old wiring harness and preparing the MGB for the new wiring harness requires extensive removal of interior parts and equipment and should take an experienced mechanic about two days.
Step 1
Put on the safety glasses before disconnecting the batterys positive cable, using the wrench kit. Disconnect the batterys negative cable, also using the wrench kit. Remove the positive cables from both batteries first if the MGB has dual batteries located under the panels behind the seats. Remove all battery cables.
Step 2
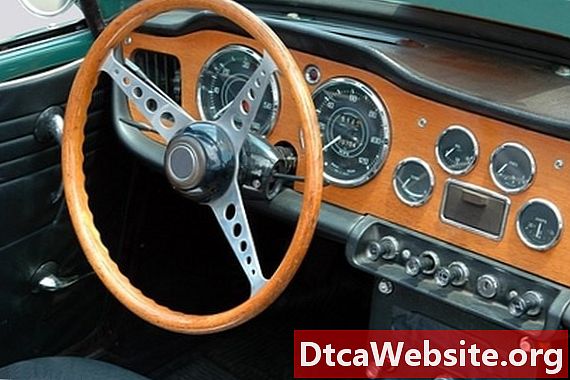
Using the wrench kit, remove all bolts holding the dash onto the interior of the car. Place the dash in a face down position. Unplug all the wires from all the devices on the dash or mounted in the dash either by hand or using the pliers. Place the dash out of the MGB.
Step 3
Remove all wires attached to the interior frame of the car where the dash was using the screwdriver and the wrench kit. Remove all rubber plugs and grommets from the firewall under the dash using the pliers.
Step 4
Push all the wires, grommets and plugs through the holes into the engine compartment of the car until no part of the wiring harness is left in the dash area. Look for places where the old harness may have shorted or melted, so the same thing can be prevented from happening to the new harness.
Step 5
Trace the ends of the wiring harness to their devises under the hood and unplug all the wires using the pliers. Lift the entire wiring harness out of the MGB when all the wires are unplugged.
Step 6
Lay the old wiring harness on the floor stretching it out until all ends are visible. Lay the new wiring harness out next to it in the same manner and compare the two harnesses.
Step 7
Lay the new wiring harness under the hood of the MGB after determining it is a proper match. Lay as many of the under hood wires and connectors as near their devices as possible as they will be factory-cut and wired to match the car.
Step 8
Place the wires that go in the interior of the MGB at their associated holes in the firewall and push them and their rubber grommets through the holes simultaneously.
Step 9
Using the wiring diagram as a guide reattach all the wires that connect to the interior frame of the car where the dash was using the screwdriver and the wrench kit.
Step 10
Place the dash in the car, holding it face down, so the back can be seen and route the wires to their proper places and attach them to their devices, using the wiring diagram as a guide. Place the dash back into its proper position and bolt it in place using the wrench kit.
Route all the wires under the hood to their devices and plug them in using the wiring diagram as a guide.
Items you will need
- Safety glasses
- Wrench kit
- Screwdriver kit
- Pliers
- Wiring diagram for year of vehicle


