
Contenu
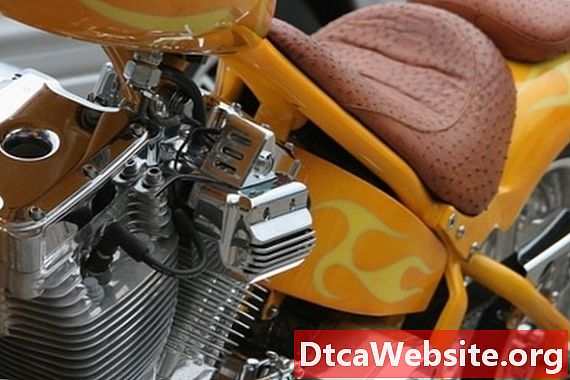
The custom motorcycle scene has grown significantly since the heyday of the custom choppers and bobbers in the late 60s and 70s. While there is a huge supply of custom parts for todays custom machines, many bike builders prefer to fabricate their own parts in order to stand out from the crowd. The solo seat used by almost every bobber or chopper is just one of these parts. A fully-finished seat can be bought for anywhere between $60 to $300. But, with a little hard work and planning, you could make your own unique, custom seat for far less.
Step 1
Select a sheet of paper that is large enough to accommodate the full size of your intended seat pan. Fold the sheet in half, lengthwise. Sketch the basic design of your seat pan onto one side of the paper. If you like the design, cut the sketched portion out of the paper with scissors. Unfold the paper design for use as a template.
Step 2
Select a sheet of 12 gauge metal and lay your paper template over it. Trace the outline of the template onto your sheet metal with a permanent marker. Remove the template and cut the traced shape out of the metal sheet, using metal shears or an electric nibbler. Deburr the edges of your freshly-cut seat pan with a metal file and sandpaper to remove any jagged edges.
Step 3
Drill several holes along the perimeter of your seat pan, using an electric drill fitted with a 3/16 inch drill bit. Space the holes around a half inch away from the edge of the seat pan and about 2 inches apart. These holes will be used to fasten the seat pans upholstery.
Step 4
Drill a pair of holes into the front of the seat pan, using a 1/4 inch drill bit. Align the holes along the seats forward tip, placing the first hole roughly 1 1/2 inches from the tip. Drill the second hole 3 1/2 inches away from the tip. These holes will be used to attach the seat pans mounting bracket. Insert two 1/4 inch bolts and washers through these holes. Place another washer, followed by a 1/4 inch nut, over the ends of the bolts. Tighten the nuts with a 1/4 inch wrench.
Step 5
Place the seat pan into a vice. Push on the seat pan to bend it to your desired shape. Most solo seats have a slight rise towards the rear and forward tips of the seat pan.
Step 6
Cover the edge of the seat pan with thin strips of duct tape. Lay the tape over the top of the pan, then bend it around the edge and press it onto the bottom of the pan. Cover the entire edge of the pan with tape until the edge has a slightly rounded profile. This will prevent the edge of the seat pan from cutting through the upholstery.
Step 7
Lay your paper template over a sheet of high-density foam. Trace the templates outline onto the foam with a permanent marker, then cut the shape our of the foam with scissors or a razor blade. The foam will act as your seat pans cushion.
Step 8
Spray the top of the seat pan and the bottom of your foam cushion with a craft spray adhesive. Let the adhesive set for 1 minute, then lay the cushion onto the seat pan. Press down on the cushion for 30 seconds to create a strong bond. Trim away any foam material that extends past the edge of the seat pan with a razor blade.
Step 9
Trace your paper template onto the back -- the white side -- of a piece of marine-grade vinyl. Extend the templates outline by at least 1 1/2 inches to allow the vinyl to wrap around the foam cushion and reach the holes drilled into the seat pan. Cut the shape out of the vinyl sheet with scissors. Place the vinyl in a clothes dryer, set to medium heat, for 10 minutes.
Step 10
Spray the top of the foam cushion with craft spray adhesive, then lay the vinyl over it. Starting at the front of the seat pan, pull the vinyl tightly around the foam and the pan. Press a rivet through the vinyl and into the seat pans holes. Rivet the vinyl in place with a rivet gun. Repeat until the entire seat is covered tightly with the vinyl sheet. Trim away the excess vinyl with scissors.
Install the seats mounting bracket, placing the brackets slots over the exposed ends of the 1/4 inch bolts installed earlier. Place a washer and another 1/4 inch bolt over the bracket and the bolts. Tighten the nuts with a 1/4 wrench. Install the seat onto your motorcycle.
Items you will need
- Paper
- Scissors
- Permanent marker
- Sheet of 12 gauge metal
- Metal sheers or an electric nibbler
- Metal file
- Sandpaper
- Vise
- Electric drill
- 3/16 and 1/4 inch drill bits
- 1/4 inch bolts, washers and nuts
- Duct tape
- High-density foam
- Craft spray adhesive
- Marine-grade vinyl
- Rivets and a rivet gun


