
Contenu
Making seat covers on your own for the rear seats of the car can give them a personalized look as well as extend the life of the rear seat. Preparing the seat covers starts with selection of a heavy-duty material such as leather or vinyl that can withstand regular deterioration. The material chosen must also go with the interior color of your car to enhance its overall look. Seat covers can help customize the interior or cover a damaged seat.
Step 1
Measure the dimensions of the rear seat with your measuring tape. Include the depth, width and length of the seat.
Step 2
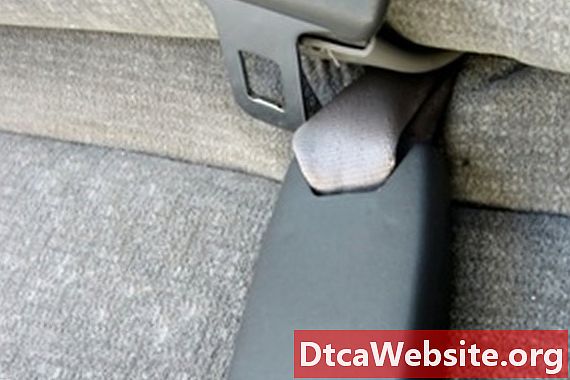
Sketch the seat dimensions on a large piece of paper to create the seat cover pattern. Mark the size and location of seat belts. Add an extra 2 inches on all sides of the pattern to allow for the hems and seams of the seat covers. Cut the pattern pieces out with scissors.
Step 3
Purchase a fabric to make the rear seat covers; cloth will allow for easy sewing, but leather or vinyl will last longer. Take the rest of the interior into account when selecting the color and ure of the fabric. You can also create patterns by combining various colors.
Step 4
Spread the fabric out on a large flat surface. Lay the paper pattern pieces onto the fabric, and pin in place.
Step 5
Cut the pieces from the fabric as required by your pattern.
Step 6
Turn over the material of the car seat so the outside portions of the fabric touch. Join the pieces of the fabric using straight pins; pin the fabric strongly enough to hold it in place while sewing.
Step 7
Stitch the pieces with the sewing machine on a slow setting, keeping a firm grip on the seating fabric while sewing it.
Create holes for the seat belts in the spots indicated on the paper pattern. Carefully hem the openings for the seat belt. Hem the whole seat cover to give it a professional look. If possible, use a machine blanket stitch or a zigzag stitch for hemming. Otherwise, use a machine straight stitch and turn the edges under.
Tip
- Place the paper pattern on the seat to judge accuracy. After cutting the fabric, pin it or baste stitch the pieces together, then lay it on the rear seat to determine any size or shape alterations you need to make before sewing.
Warning
- Avoid using light-colored material on a seat, which will show dirt much faster than a darker color.
Items you will need
- Measuring tape
- Scissors
- Heavy-duty fabric
- Pins
- Sewing machine


