
Contenu
- Step 1
- Step 2
- Step 3
- Step 4
- Step 5
- Step 6
- Step 7
- Step 8
- Step 9
- Step 10
- Step 11
- Step 12
- Step 13
- Warning
- Items you will need
Fiberglass can be used to make a copy of an existing automotive body part, to repair damaged parts, or as a foundation for custom-body panels. Fiberglass is the casting material of choice for many auto body workers. It can be formed into any variety of complex shapes, and you can buff its surface as smooth as a commercially manufactured body part. The copy made of fiberglass is referred to as a mold. The process of making a fiberglass body mold is lengthy but worthwhile for those who wish to save money on car repairs.
Step 1
Put on your goggles and gloves. Spray or brush one layer of mold-release wax onto the surface of the automotive part. Do not disturb the part for one hour.
Step 2
Apply the next layer of mold-release wax in an alternating direction from the first layer. Dont disturb the part covered in wax for one hour.
Step 3
Repeat Steps 1 and 2 one to three more times.
Step 4
Spray a thin layer of polyvinyl-alcohol-parting agent to the surface of the wax on the part. Apply two additional light coats of the parting agent. Apply a heavier coat of parting agent. Dont disturb the part until the parting agent has completely dried.
Step 5
Spray the first layer of fiberglass resin, called a gel coat, to the surface of the automotive part. Dont touch until dry. Use a sanding block to buff out lumps in the gel coat. Use a knife to cut off fiberglass that hangs past the edge of the part.
Step 6
Spray another layer of fiberglass resin over the gel coat. Dont touch until dry. Use a sanding block to smooth out lumps in the gel coat. Use a knife to cut off fiberglass that hangs past the edge of the part.
Step 7
Add a third layer of fiberglass resin to the part using the same process described in Step 6.
Step 8
Do not apply additional layers of fiberglass until the temperature of the fiberglass has fallen to the same level as the temperature of the room.
Step 9
Spray additional coats of fiberglass following the procedure described in Step 6.
Step 10
Spray a final coat of fiberglass resin to the surface of the mold.
Step 11
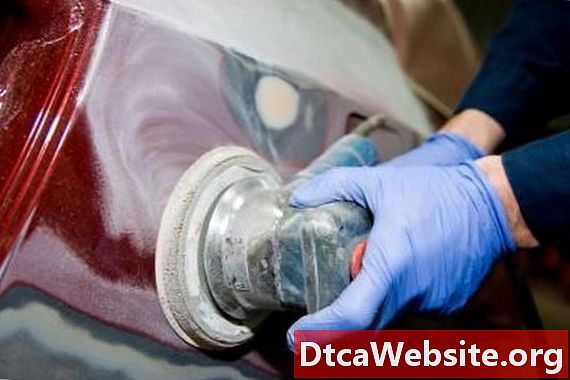
Smooth the surface of the fiberglass mold using a roller.
Step 12
Do not disturb the mold or body part until five days have passed. This will allow sufficient time for the fiberglass body mold to cure.
Step 13
Insert a flat, wooden stick into the area in between the fiberglass mold and the automotive part. Pry the fiberglass mold from the automotive part.
Do not disturb the fiberglass mold until five days have passed. This will allow sufficient time for the fiberglass mold to cure.
Warning
- Be cautious while working with flammable materials. Protect hands by wearing chemical-resistant goves and wear safety goggles. Keep hazardous materials away from children. This project must be done in a well-ventilated area. Follow the manufacturers safety instructions.
Items you will need
- Safety goggles
- Chemical-resistant gloves
- Mold-release wax
- Spray gun
- Polyvinyl-alcohol-parting agent
- Fiberglass resin
- Knife
- Roller
- Sanding block
- Flat, wooden stick


