Contenu

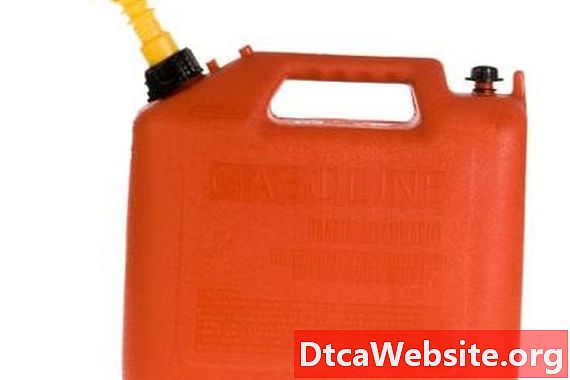
Making your own outboard fuel tank for your boat can be done using a typical five-gallon plastic fuel can, allowing you to easily carry the fuel can between fill-ups or use the can for other purposes, when necessary. By using a plastic fuel can, rather than attempting to construct your own out of plastic or metal, you will be assured a more leak-proof installation, and the new gas tank will fit easily beside the transom so that you dont have to run more than a few feet of fuel line.
Step 1
Select a drill bit that is the same size or slightly smaller than the fuel line you have selected for the outboard fuel tank, and then drill a hole with the electric drill into the center of the gas tanks fuel cap. You will have to find a fuel cap that does not incorporate the fuel filler neck within the cap if the gas can you are using does not include one.
Step 2
Cut the fuel line into two lengths. The first length should be approximately two feet in length, and the second should be long enough to reach from your intended gas can location to the outboard motor itself.
Step 3
Insert the two-foot length of fuel line into the hole you drilled in the gas cap so that six inches of fuel line will extend out of the top of the cap when it is screwed onto the fuel tank.
Step 4
Insert a compression band over the end of the six-inch length of fuel line, and then insert one end of the priming bulb into the hole in the end of the fuel line. Pay attention to the flow direction indicated on the priming bulb so that you dont accidentally pump fuel out of the engine rather than into it. Slide the compression band over the end where the bulb and the fuel line meet, and then tighten the band with a screwdriver.
Step 5
Slip a compression band over one end of the second length of fuel line, and then plug this end of the fuel line into the outlet pipe for the priming bulb. Tighten the compression band over the place where the bulb and the fuel line meet.
Slip a compression band over the final end of the fuel line, and then attach the fuel line to the fuel intake hose of the outboard motor. Tighten the compression band with the screwdriver.
Tip
- Fill the tank when youre ready to use it. Just before starting the engine, compress the fuel lines priming bulb until you can feel it become more difficult to compress. This means that there is fuel in the line, and you can start the engine.
Items you will need
- Five-gallon plastic fuel can
- Fuel tank priming bulb
- Fuel line
- Electric drill
- Drill bits
- Compression bands
- Screwdriver


