Contenu

The ignition module is responsible for turning the ignition coil on and off and controlling the duration of current flow through the primary winding of the ignition coil. This allows the spark plugs to fire at a specific time according to the number of cylinders your vehicle has. Testing of the ignition module can be done using a digital volt ohm meter and a 12-volt test light.
Step 1
Use a wiring diagram for the year model of your vehicle. Locate the terminals running into and out of the ignition module. Placement of the module varies from model to model so check the appropiate service manual of your vehicle for the exact location.
Step 2
Turn the ignition on and use your DVOM to check for voltage to the ignition module and the positive terminal of the ignition coil. Place the negative lead of your DVOM to a solid ground and use the positive lead to probe the wires running to the ignition module and to the ignition coil.
Step 3
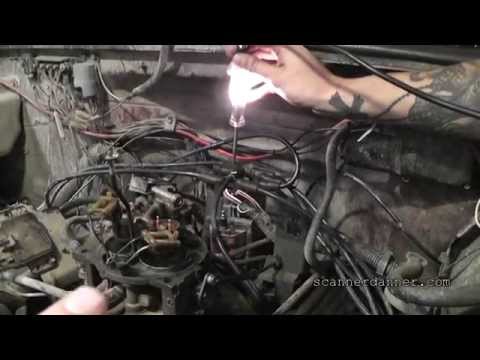
If your DVOM shows that voltage is present at both locations, remove the DVOM leads and set the meter aside. Connect the ground lead from the 12-volt test light to the negative terminal on the ignition coil. Have your partner crank the engine over several times. Your test light should flicker on and off. If so, your module is working properly and no further testing is necessary.
Step 4
If your test light does not flicker on and off, visually inspect the wires running into and out of the ignition module. Look for burn marks, melted wire insulation and breaks in the wires. Use your wire splicing tool to remove the bad area in the wire and use your wire connectors and splicing tool to repair the faulty wires.
Step 5
Use your DVOM to check for an open circuit condition in the primary coil winding. Touch the negative probe to the negative terminal on the ignition coil, touch the positive lead to the positive terminal. Set the meter to read ohms. If the reading shows infinite ohms, your ignition module is faulty and should be replaced. Follow the service manual instructions for replacing your ignition coil.
Look to see if the DVOM test shows low to no ohms; if so, then you have a faulty ignition module that will have to be replaced. Follow the service manual instructions for your vehicle to replace the module.
Tips
- Make sure you have checked all wires going into and out of the ignition module as well as the ignition coil. Wires are much cheaper to repair than your ignition controls.
- Do not probe ignition circuit wires with your test light. This can cause an over volt condition and damage other components.
Warning
- Keep all tools and equipment away from the battery. Anything that connects the two terminals will damage equipment and possibly cause you to be shocked.
Items you will need
- Digital volt ohm meter (DVOM)
- Test light
- Safety glasses


