Contenu
![]()
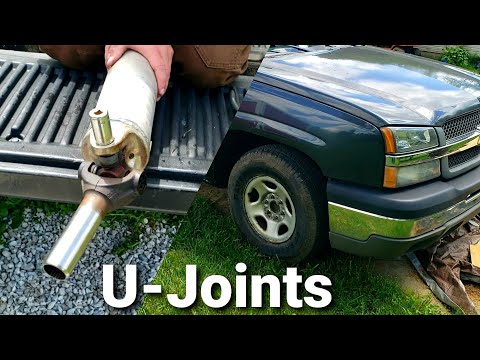
Changing the U-joints in your GMC Sierra is a good project for the do-it-yourselfer or home mechanic. The U-joints are located at each end of the drive shaft and allow for vertical movement while the shaft is spinning. Worn U-joints can cause vibrations, banging sounds and fail, causing damage to the drive shaft and other drive line components. Check your U-joints at the first sign of wear and change them if you notice any movement or play in the joints.
Step 1
Raise the rear of your Sierra off the ground with a jack and support it with a good set of jack stands. Set wheel chocks at the front wheels to prevent the truck from rolling in either direction while you are under it.
Step 2
Mark the orientation of the rear drive shaft yoke and differential yoke with a paint pen so that you can reassemble them in the same position later. The yoke is the "U" shaped section at the end of the drive shaft that holds the U joints. Marking these will ensure you maintain the balance of the drive shaft.
Step 3
Locate the bolts that attach the drive shaft to the rear differential. There are four bolts that secure the flange of the drive shaft to the flange of the differential. Remove these four bolts using a wrench or socket and ratchet.
Step 4
Lower the drive shaft to the ground and move to the transmission end of the shaft. The front of the drive shaft slides into the rear of the transmission at the output shaft.
Step 5
Position a drain pan under the transmission output shaft to catch any transmission fluid that may drip out when you remove the shaft. Slide the drive shaft out of the transmission.
Step 6
Remove all eight of the retaining clips on the U-joint caps to save time. Using a pair of pliers, squeeze the tangs together and lift the clips out of the yoke. Discard them.
Step 7
Remove the first U-joint using a U-joint press. The press looks like a big C-clamp, but has a large hole in the stationary end and a threaded shaft on the other side. Place the press around the U-joint so that one cap is against the stationary end and the threaded shaft is against the opposite cap.
Step 8
Turn the threaded shaft with a socket and ratchet, forcing the opposite cap out of the yoke. Turn the press around and press the first cap back until it also clears the yoke. Repeat this procedure on the opposite set of caps removing the entire joint from the shaft.
Step 9
Remove the caps from the new U-joint by pulling them straight off the joint. Set them aside and insert the joint into the yoke. Place the first two caps into the yoke and, using the U-joint press, press them into the yoke. Repeat this for the other two caps on this U-joint.
Step 10
Insert the new retainer clips into the yoke in front of the cap. Be sure they snap into the retaining groove on the yoke. Do this for all four caps.
Step 11
Move to the opposite end of the drive shaft and repeat the entire procedure on the second U-joint. Once completed, move the drive shaft under the truck and slide the shaft back onto the output shaft of the transmission.
Step 12
Align the marks on the drive shaft and differential and install the bolts that retain the shaft. Tighten the bolts with a wrench or socket and ratchet.
Remove the drain pan from under the truck. Raise the truck with your jack and remove the jack stands, then slowly lower the truck to the ground. Test drive your Sierra to ensure that everything is functioning as it should.
Tip
- Placing the transmission in neutral and rotating the drive shaft will provide more clearance to remove the bolts that attach the drive shaft to the rear differential.
Items you will need
- Jack
- Jack stands
- Wheel chocks
- SAE wrench set
- SAE socket set
- Drain pan
- Pliers
- U-joint press


