Contenu

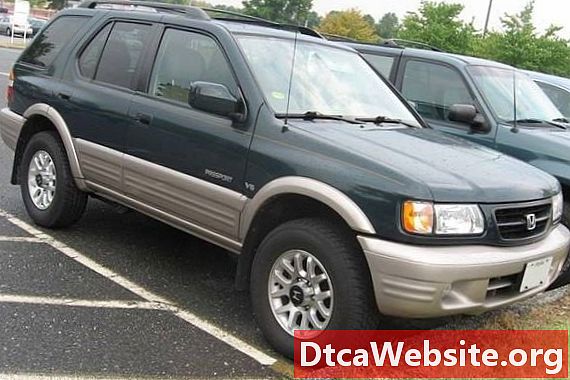
Drive axles are under a lot of stress as a car turns, accelerates and rides over stones, humps and other road imperfections. Eventually, constant-velocity (CV) joints begin to click, grind, clunk or hum, and need to be replaced. Removing a front axle on the Honda Passport could be a little tricky, but its not impossible. Follow these simple steps to change the front axle on your Passport in a matter of minutes.
Step 1
Disconnect the black, negative cable from the battery.
Step 2
Raise the front side of the vehicle where the axle you need to remove is located, so the tire on that side is off the ground. Loosen the wheel lugs before raising the vehicle. Support the car safely on a jack stand.
Step 3
Remove the tire using a lug wrench.
Step 4
Remove the radiator skid plate and the transfer-case skid plate using a wrench or ratchet and socket.
Step 5
Remove the brake caliper. Unfasten the caliper mounting and guide bolts using a ratchet or wrench and dismount the caliper from its bracket. Use a piece of wire to tie the caliper away from your working area, making sure not to bend the brake hose. Also, remove the caliper mounting bracket if you need more working space.
Step 6
Remove the brake rotor from the steering knuckle assembly.
Step 7
If your vehicle is a four-wheel drive with anti-lock brake system, take off the wheel speed sensor from the steering knuckle assembly The sensor might be hold in place by a hex bolt. You can use an Allen wrench or hex-bit driver with a ratchet to remove the bolt.
Step 8
Separate the tie rod from the steering knuckle. You might need a puller to separate the tie rod.
Step 9
Remove the ball joint pinch bolt from the steering knuckle. Using a pry bar or large screwdriver, separate the joint and remove the ball joint.
Step 10
Push the drive axle out of the hub and steering knuckle assembly using a gear puller. If necessary, loosen but do not remove the strut-to-steering knuckle bolt to push the axle free from the steering knuckle.
Place a jack underneath the axle assembly to support the axle housing. Remove the bolts from the axle mounting bracket, then remove the half shaft/bracket axle assembly.
Tip
- Consult your service manual to locate and identify the components of your vehicle. You can buy a service manual at most auto-parts stores or consult one for free at a public library.
Warning
- Make sure to cut power to the air bag system if your vehicle is equipped with one. You may trigger an impact sensor and deploy the air bags accidentally, which could cause severe personal injury. Consult your vehicle service manual.
Items you will need
- Jack Jack stand Lug wrench Wrench set Ratchet and socket set Tie-rod puller Pry bar Gear puller


