
Contenu
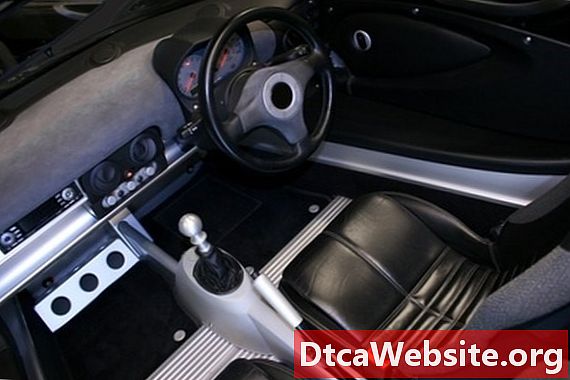
Many car enthusiasts build a fiberglass center console to incorporate a unique look or to better serve their needs than the cars original factory console. You can build your own fiberglass center console to customize your car.
Step 1
Design the center console. Using the blocks of foam, rasping tools and sandpaper, build the basic shape of the center console. Use the rasping tools for the shape and the sandpaper for making the corners and edges smooth. Use the hot glue gun to glue foam blocks together if one block isnt enough.
Step 2
Stretch fleece material over the entire foam mold enough so that it can be attached on the underside. This is what the fiberglass will adhere to, so make sure there is 100 percent coverage.
Step 3
Coat the entire mold and fleece with resin using a paint brush. After the entire mold is covered with a coat of resin, it should be soaking into the fleece. Allow it to dry for a few hours.
Step 4
Cover the resin with fiberglass mat (you may also use spray-on fiberglass shards for this step) and allow it to dry.
Step 5
Grind down any high points on the mold. Fill the low areas with body filler and allow to dry.
Step 6
Sand the entire mold by hand with 600-grit sandpaper, then move to a higher-grit sandpaper and repeat. Move to 800 and finish with 1,000-grit sandpaper. This will make the fiberglass center console very smooth and free of imperfections.
Finish the fiberglass center console by either painting the console or covering it with material.
Warnings
- Follow the directions on cans of auto body filler and resin before using.
- Never sand or use a grinder without wearing a face mask.
Items you will need
- Large block of foam
- Face mask
- Rasping tool
- Resin
- Fleece material
- Sandpaper
- Paint brush
- Hot glue gun
- Glue sticks
- Fiberglass mat
- Grinder
- Auto body filler


