Contenu
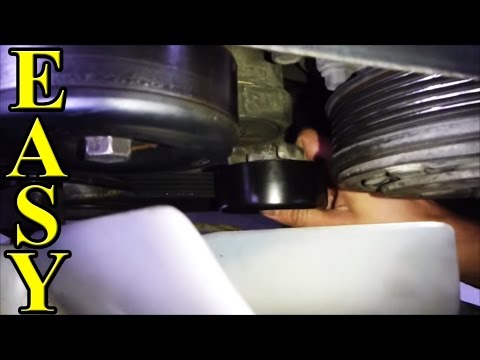
The belt tensioner assembly of your vehicle is designed to allow several engine parts to be operated by one serpentine belt. The belt is tightened or loosened by adjusting the belt tensioner with a tensioner tool or socket wrench. Occasionally, the belt tensioner assembly can wear out, causing the serpentine belt to wear unevenly. You can save yourself time and money by removing the belt tensioner assembly on your own.
Step 1
Attach the socket wrench to the bolt in the center of the belt tensioner pulley. The belt tensioner is on the front of the engine, between the crankshaft and alternator pulleys.
Step 2
Pull the socket wrench clockwise to loosen the serpentine belt, and slide the belt off the tensioner pulley. Let the tensioner move back into position.
Unbolt the belt tensioner assembly from the motor with a socket wrench. Remove the assembly from the engine compartment.
Warning
- To avoid burns, let the vehicle engine cool down before attempting to remove the belt tensioner.
Items you will need
- Socket wrench set


