Contenu

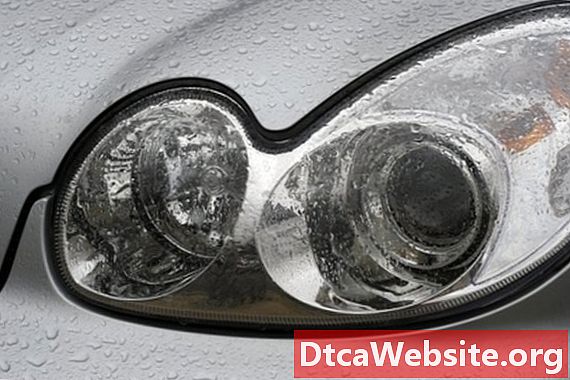
Proper aiming of headlights on a vehicle is often taken for granted until the road ahead at night is shrouded in darkness even with the headlights turned on. The good news is that headlight adjustment is not complicated and is doable by the average do-it-yourself-er. Each car is a little different, and sometimes the most difficult part of adjusting headlights is to find the adjustment screw. On the Odyssey, the procedure is straightforward.
Step 1
Park the car on a level surface in front of a flat wall or garage door. Park about 5 feet away. Set the parking brake and turn on the headlights with the engine shut off.
Step 2
Stick a horizontal piece of tape on the wall at the top edge of each headlight beam, and a vertical piece of tape at the center point of each beam horizontally. There should now be two "Ts" on the wall, one in front of each headlight. These are for reference when adjusting the headlight. Move the car back about 25 from the wall.
Step 3
Open the hood and stand on the drivers side of the vehicle. Shine a flashlight toward the front and find the radiator support bracket, which holds the radiator in place. It spans the front of the vehicle. Look for the large hole in this bracket behind the drivers side headlight. In line with this hole there is a smaller hole on the back of the headlight housing that allows access to the adjustment mechanism.
Step 4
Insert a Phillips screwdriver into the large hole on the radiator bracket, through the large hole on the back of the headlight housing and then through another, small hole barely large enough for the screwdriver to slide through. Rotate the screwdriver to adjust the light vertically. Use the tape on the wall for reference. When properly adjusted, the beams shining on the wall should be about 2 inches below the horizontal tape lines. Adjust the passenger side headlight if necessary in the same fashion.
There is another access port on the side of the housing to adjust the light horizontally. When properly adjusted, the center of the beam should be 2 inches to the right of vertical tape line. Adjust the passenger side headlight (if necessary) in the same way. When finished, remove the tape from the wall, close the hood and start the engine. Let the engine idle for a few minutes to recharge the battery.
Items you will need
- Flashlight
- Masking tape
- Phillips screwdriver


